Love is in the air, and something that I have come to love over the years is PINTEREST. I absolutely ADORE this site. It’s a totally healthy obsession, I assure you!
I love that I can see so many talented people’s ideas, and then recreate those crafts, foods, decor…you name it! I actually really enjoy mixing tutorials I have seen to make the best overall product for me and my family. This is one of those cases.
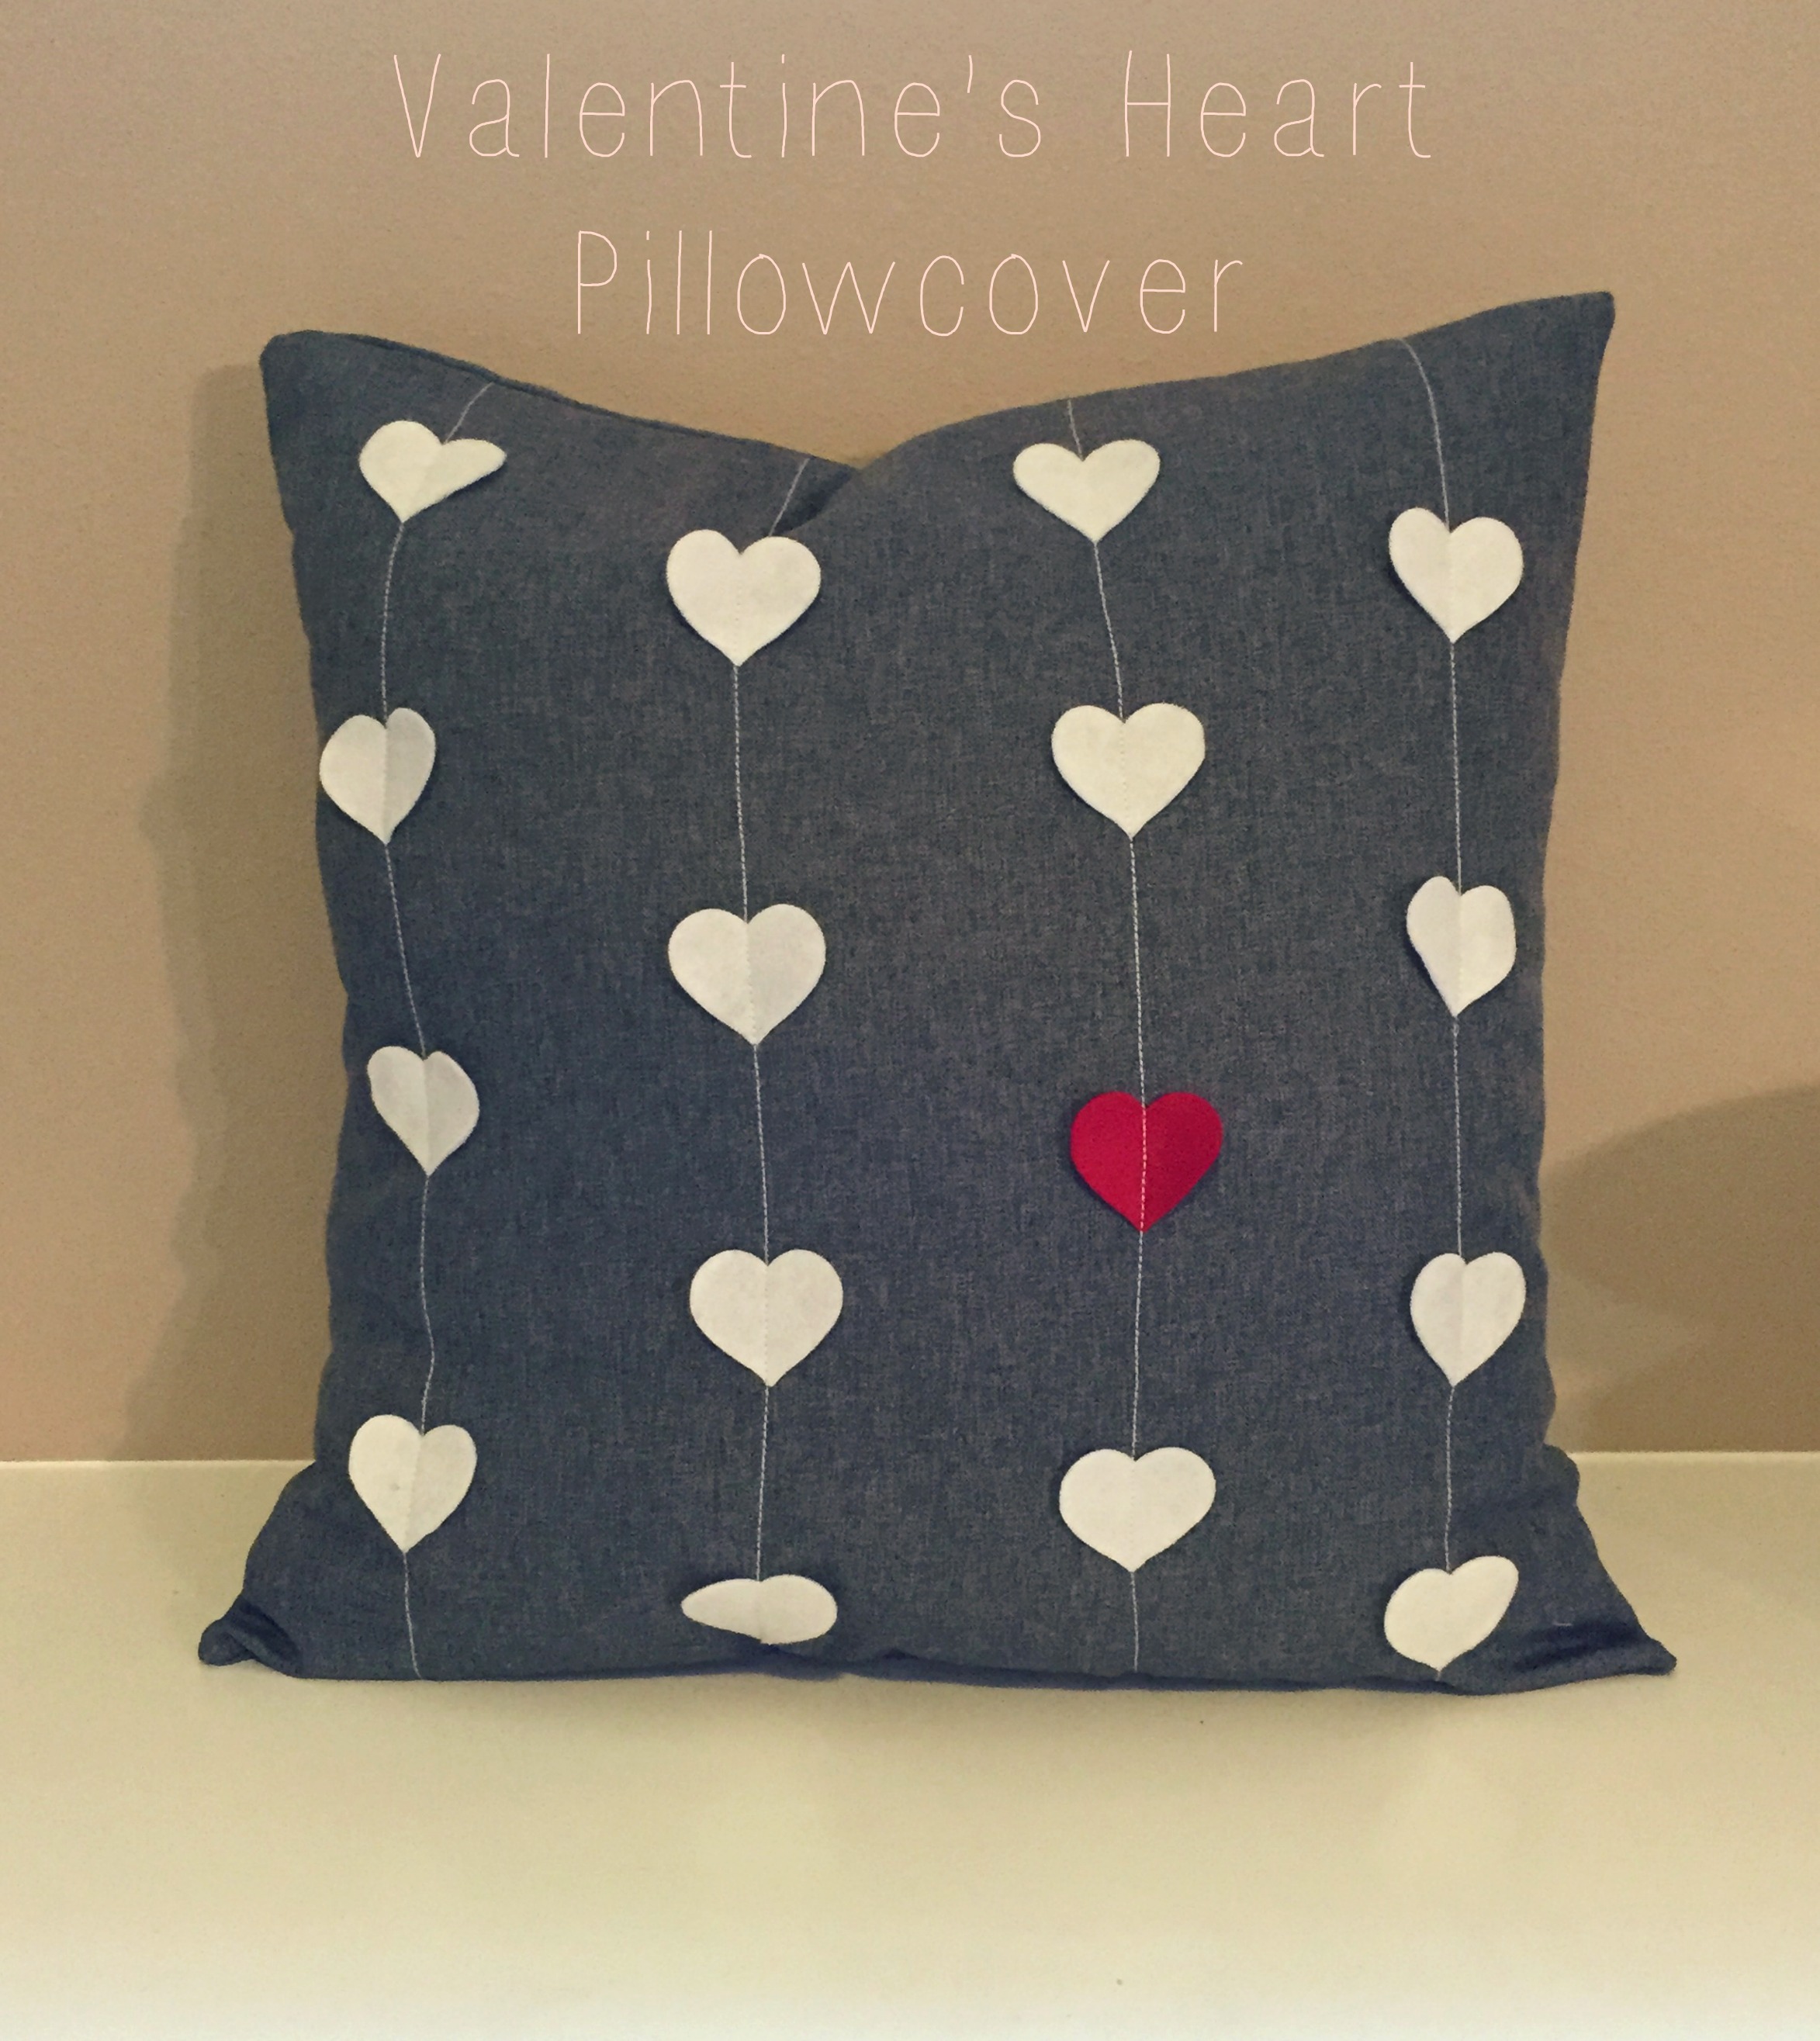
I mixed this envelope pillow tutorial from Delia Creates and this sweet heart strings pillow tutorial from Allisa Jacobs. By mixing the two, I feel like I have made a simple, yet beautiful addition to my home, and hopefully your Valentine’s Day decor as well.
Let’s get started!
What You’ll Need:
20x20in pillow form (I actually decided to not buy a new form and just covered two of the pillows I am not currently decorating with right now)
5/8 yard of fabric (I used a suiting material that I found at Joann Fabrics)
-Cut one piece to 20x20in and cut two pieces to 17x20in
white and red felt (I chose to go with a wool felt so that it would be more durable, I was lucky and also found it at Joann’s)
heart template or die cutter (I used a die cutter that I borrowed from a friend to cut out the felt. It was quick and easy that way. You could also just make a template in the shape of a heart.)
– Cut out 15 white hearts, and 1 red heart.
Let’s Get Started:
First: Cut your fabric, as noted before, cut one piece to 20×20 and two pieces to 17×20.
Second: Hem your two 17×20 pieces. Fold one of the short ends over an inch and then fold over again another inch so that you have a nice thick hem. Press, pin, and sew along the hem close to the double fold. Repeat with your second piece of 17×20.
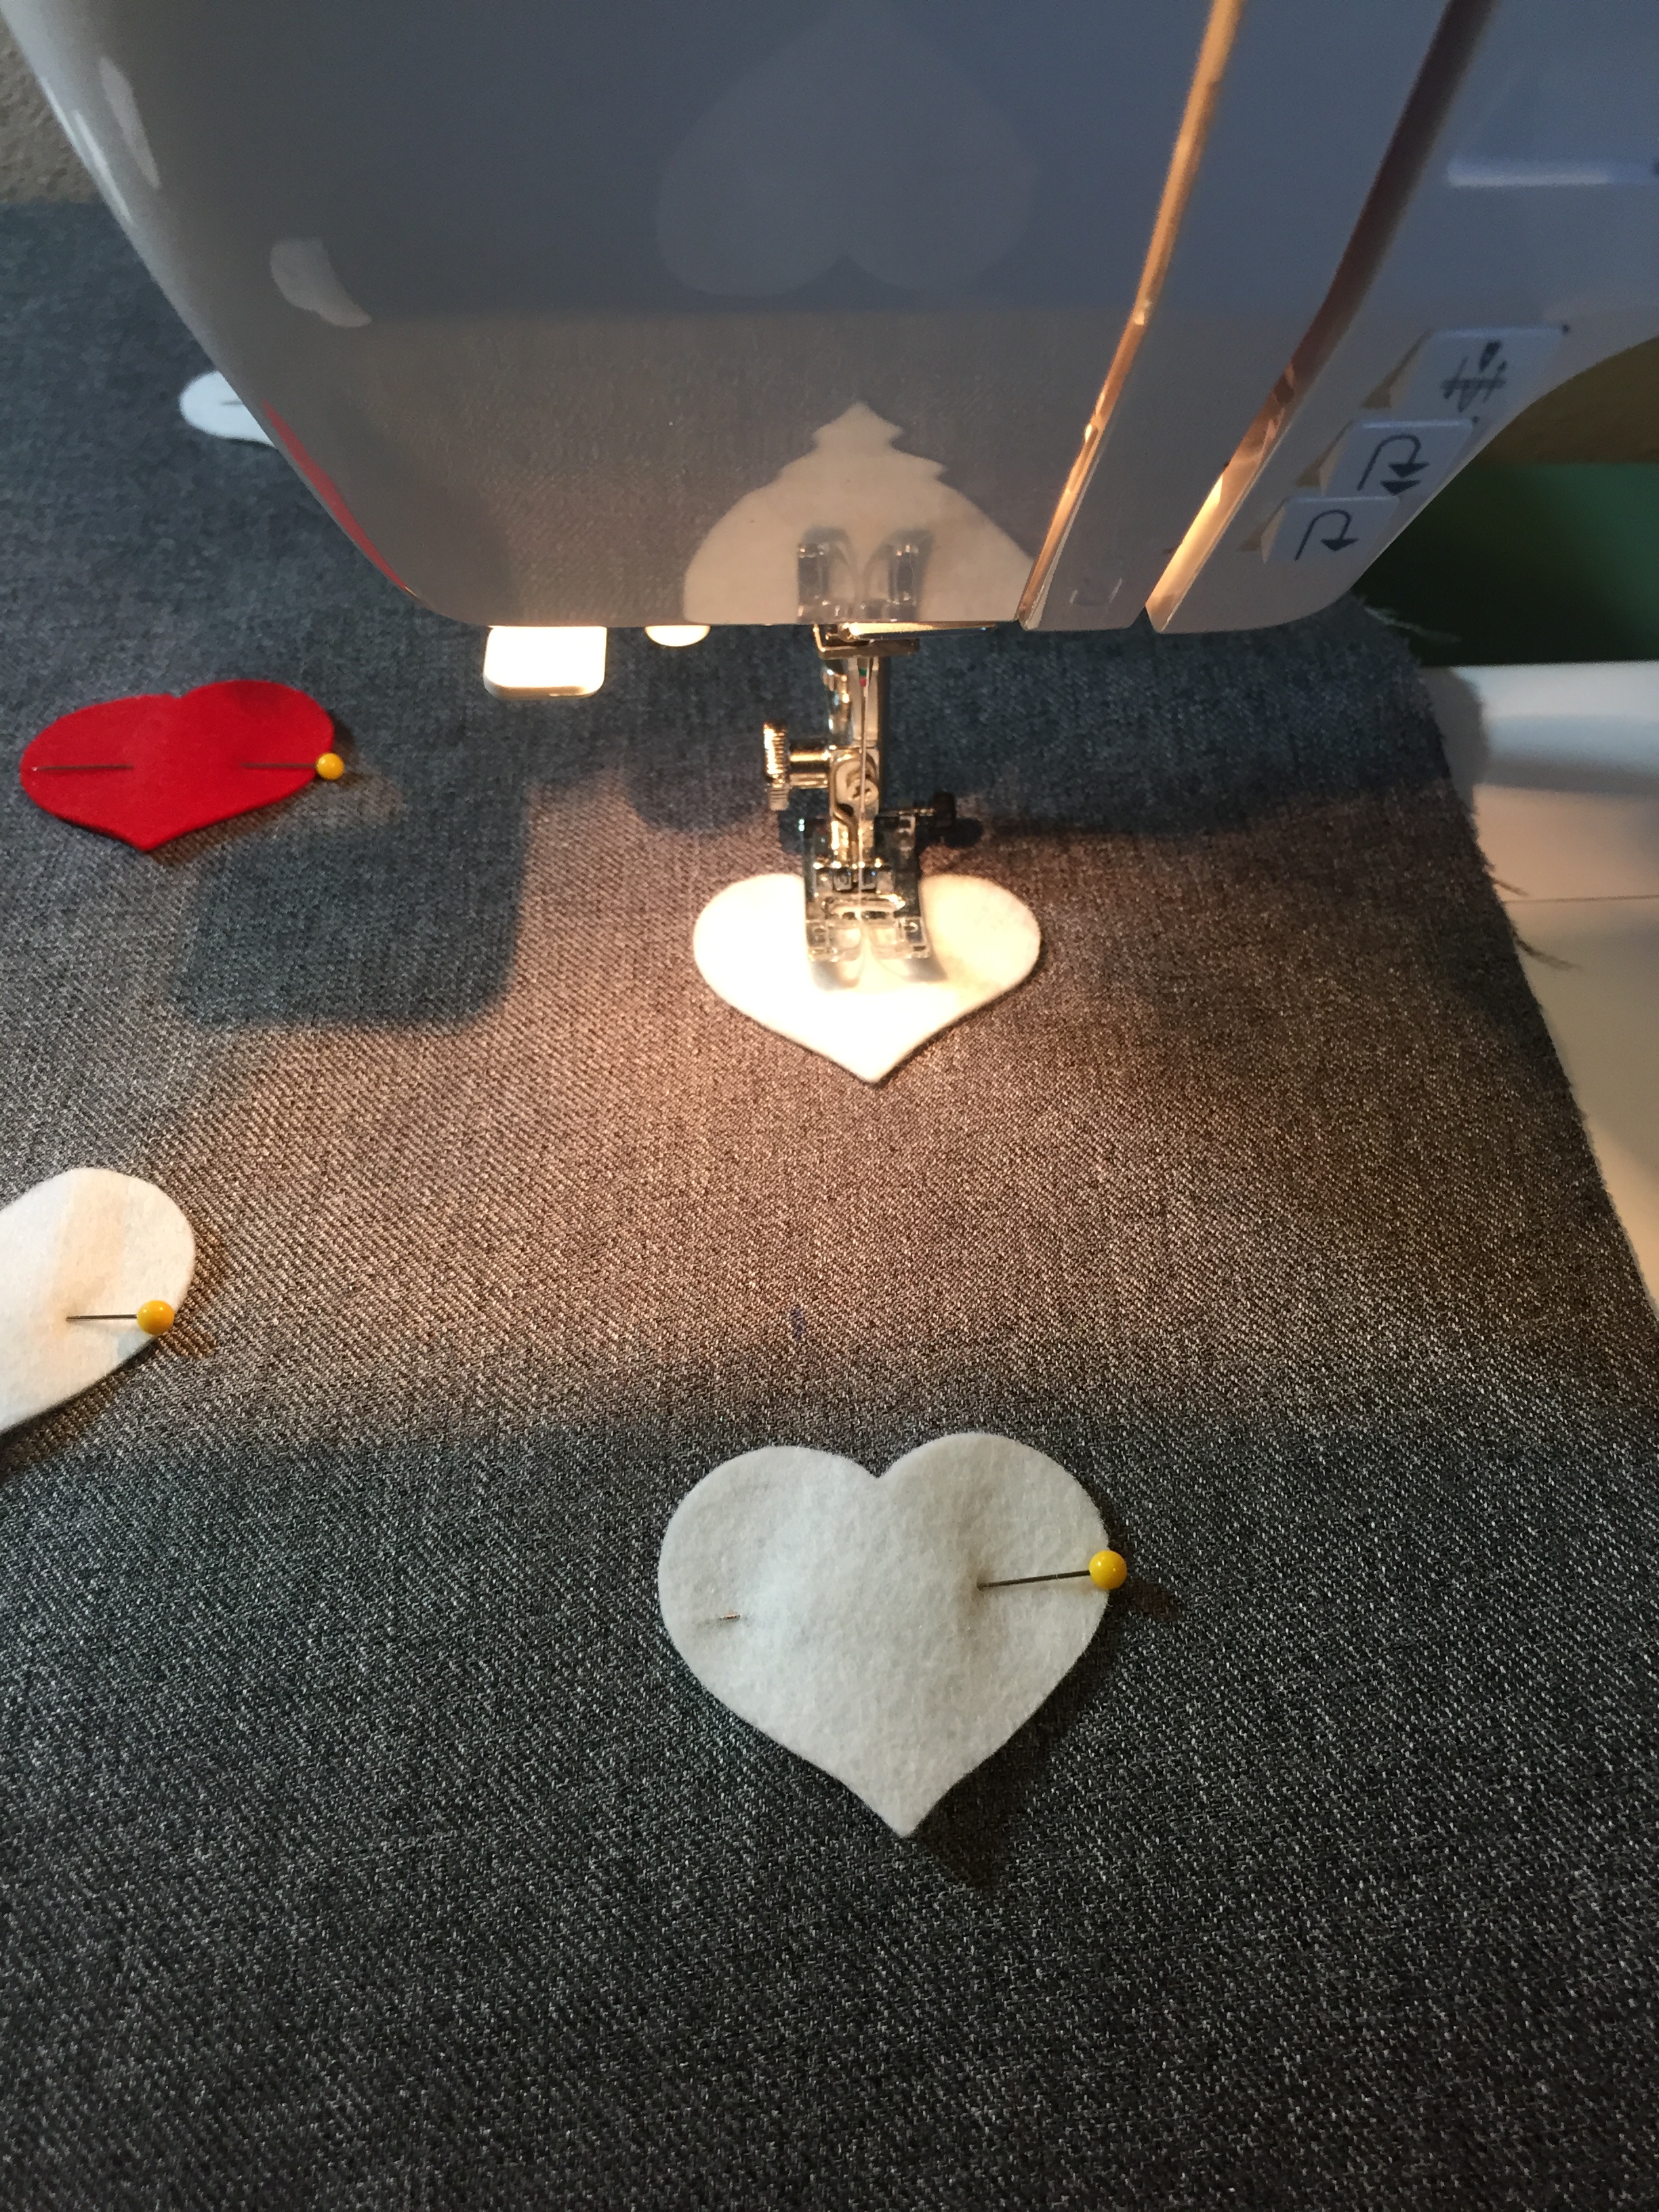
Third: Measure and place your heart’s on the right side of the 20×20 piece. I measured out every 4in and then adjusted their placement from there. You could do them in perfectly straight lines or slightly adjust them off center, which is what I ended up doing with mine. Pin the hearts in place.
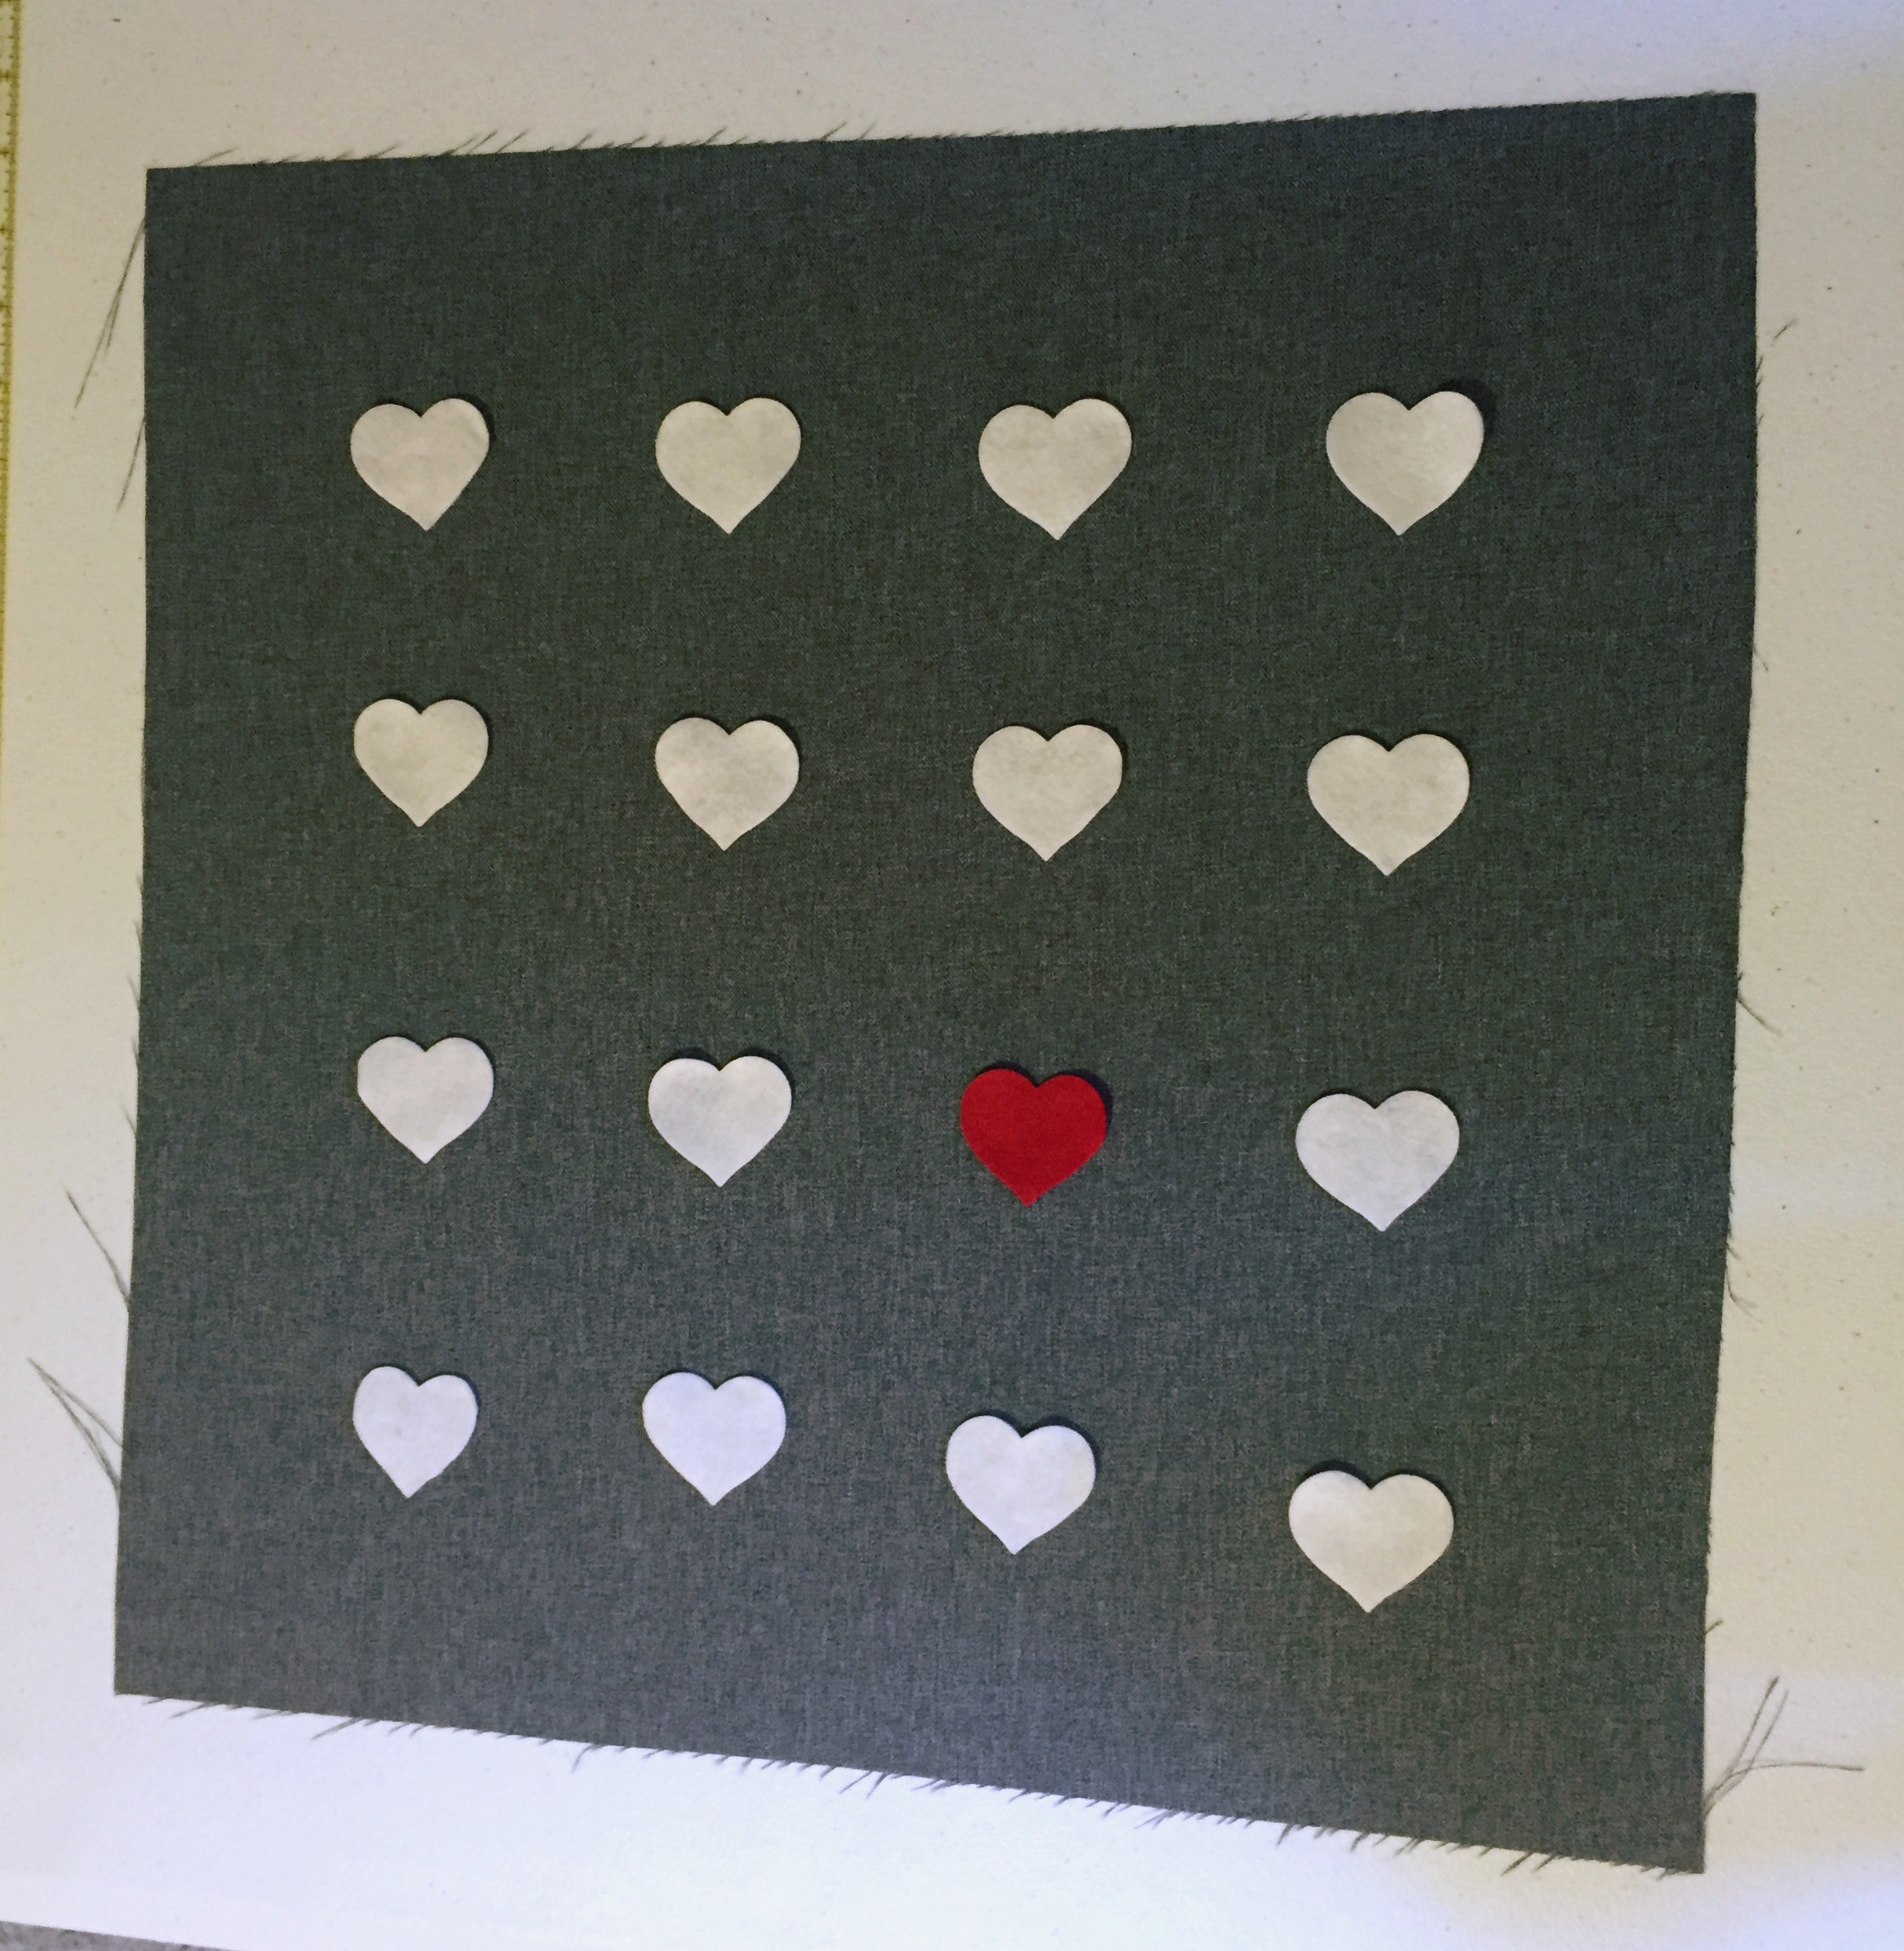
All lined up 4in apart.
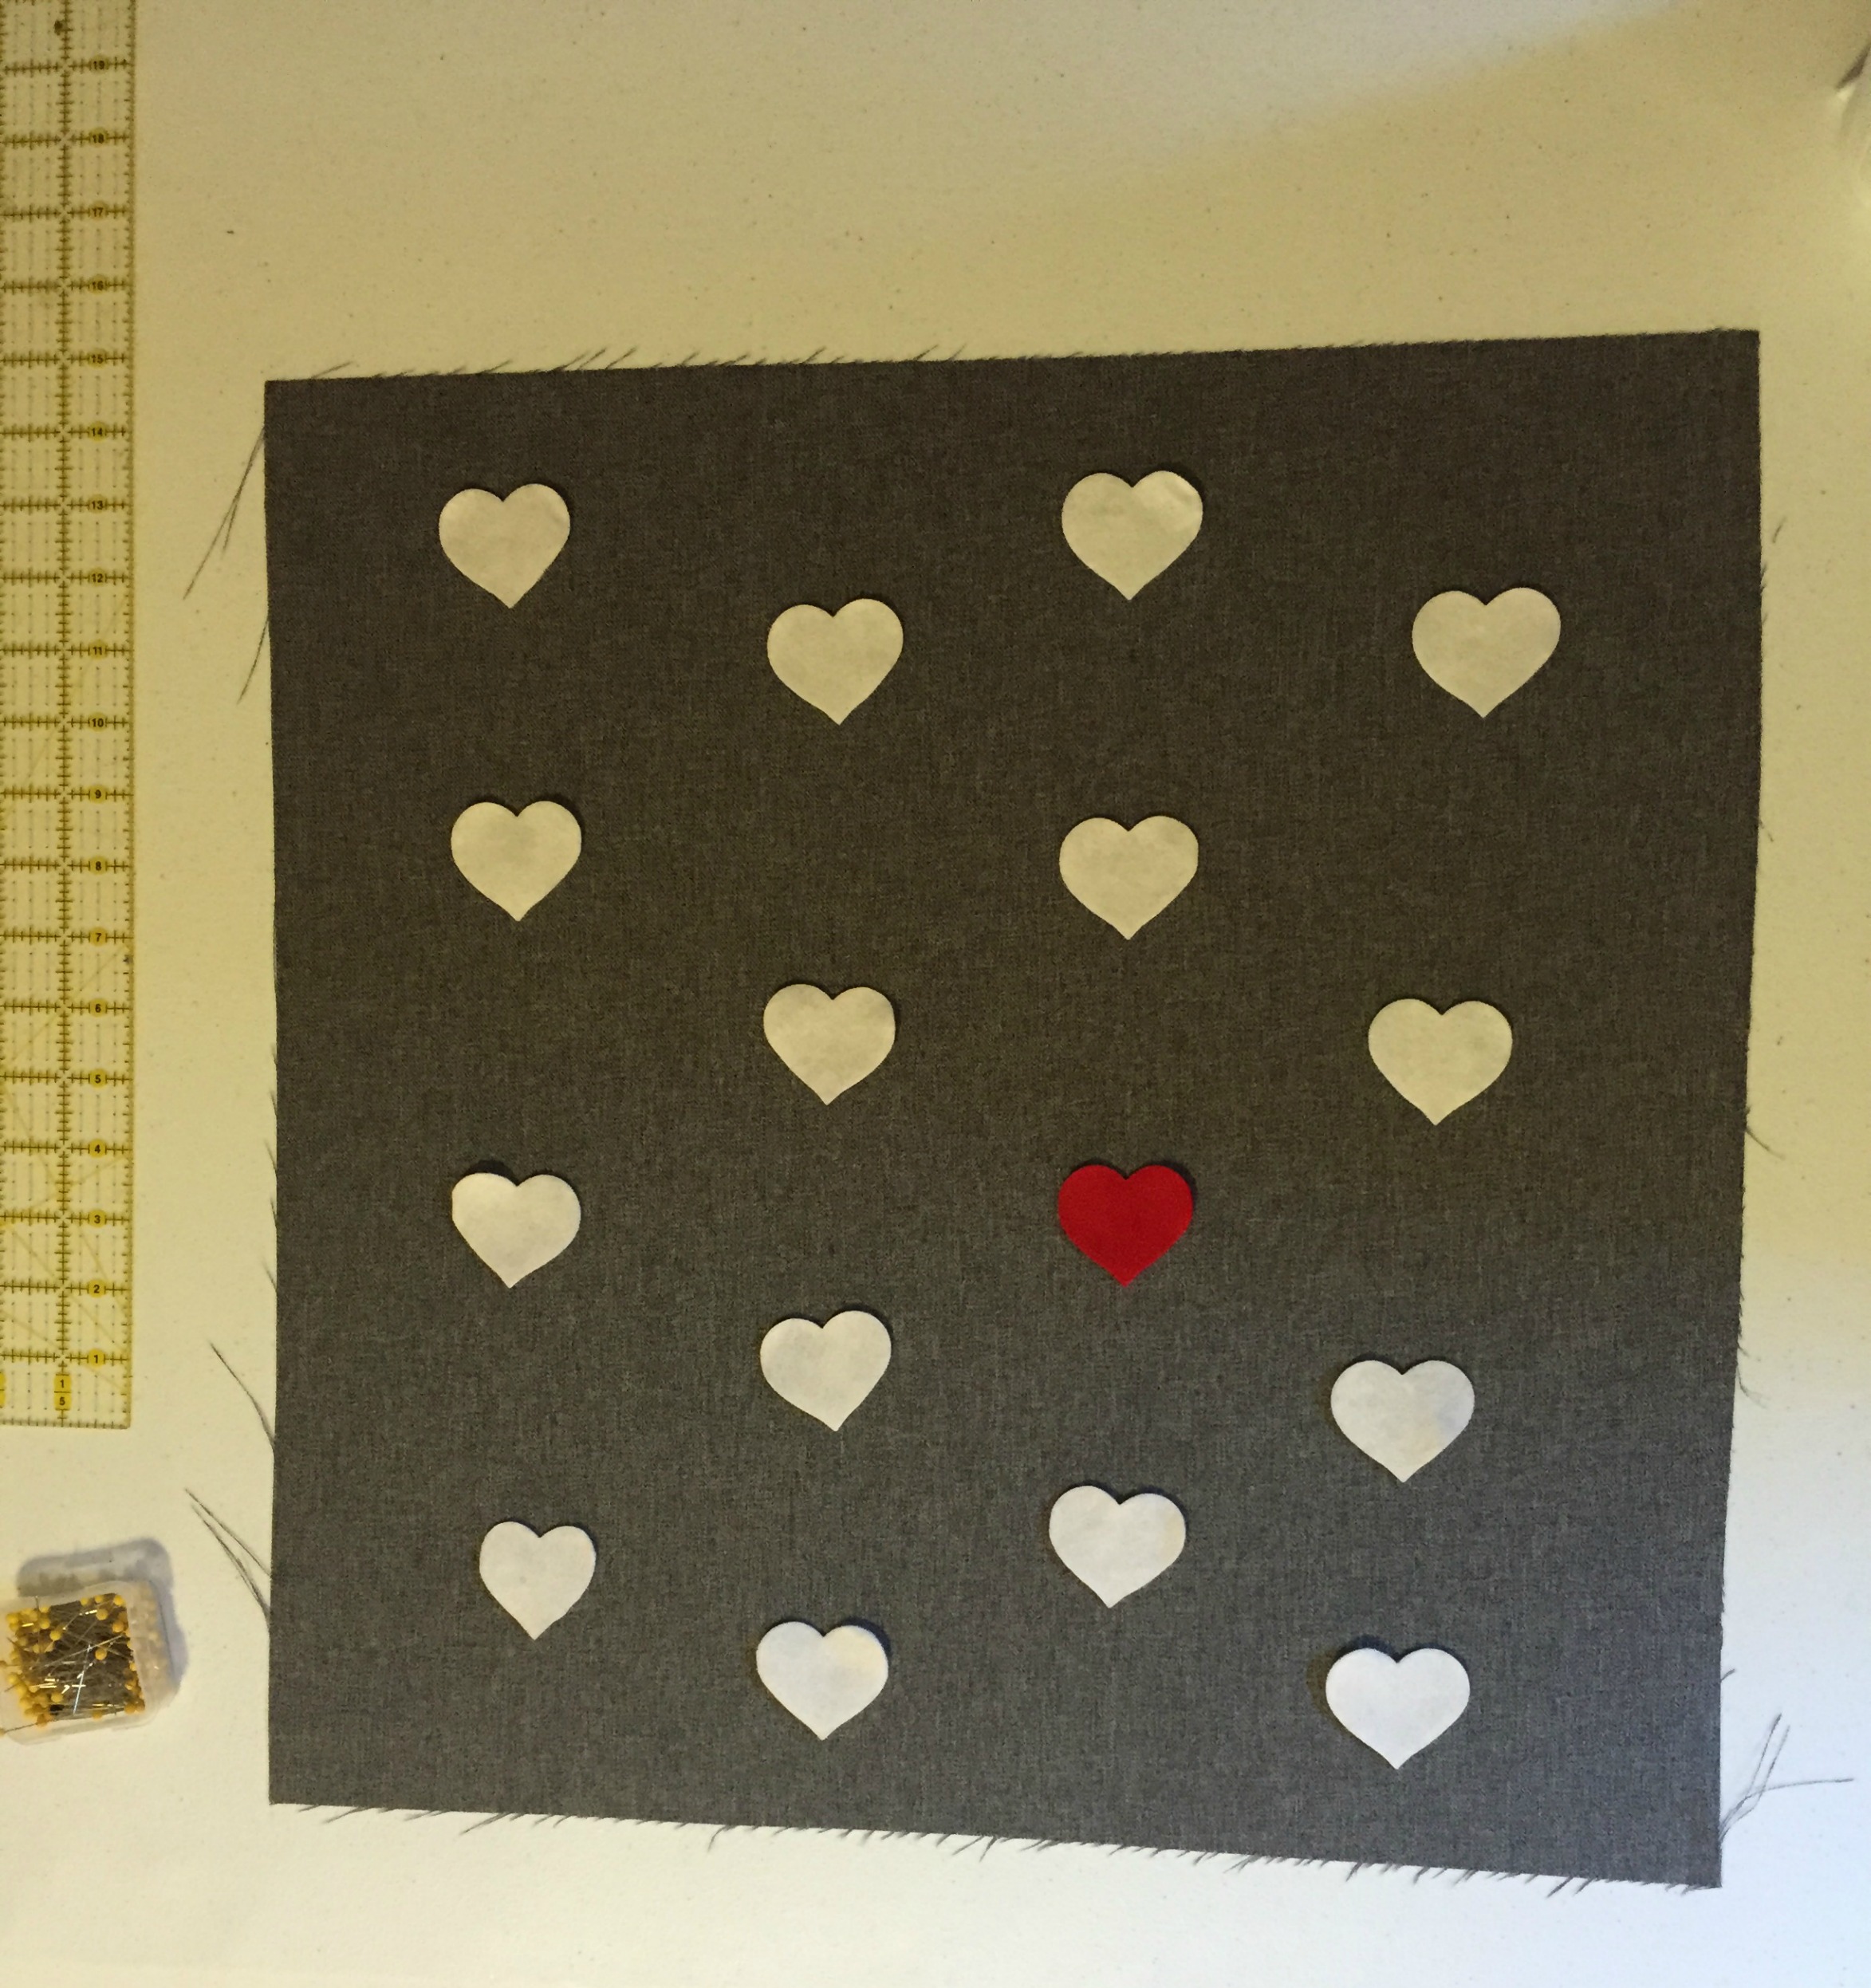
Slightly off center.
Fourth: Sew on your hearts starting on the very edge of the fabric and going through the center of each heart. I used a triple stitch here because I really wanted the stitching to pop when I looked at the pillow.
Fifth: Pin together and then sew all of you pieces together. Place your first hemmed 17×20 piece right side down onto the right side of the 20×20 that you just sewed your hearts to so that your pretty hem and hearts are touching. Match up your edges and make your first 17×20 piece is touching the top edges of the heart pillow so that there is a gap showing at the bottom of the pillow (that way it will look nice when the cover is turned right side out). Place your second hemmed 17×20 piece down overlapping your first piece.

The hearts should be at the bottom. Right sides together.
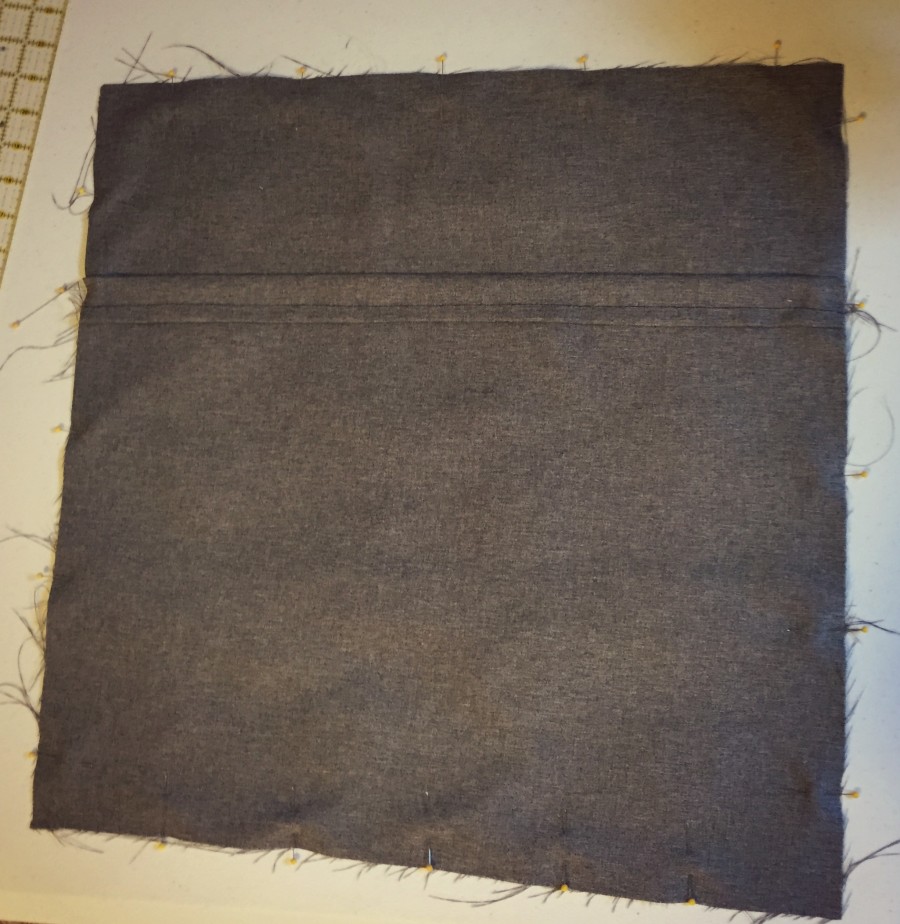
Nicely pinned all the way around.You don’t want the suiting material shifting on you!
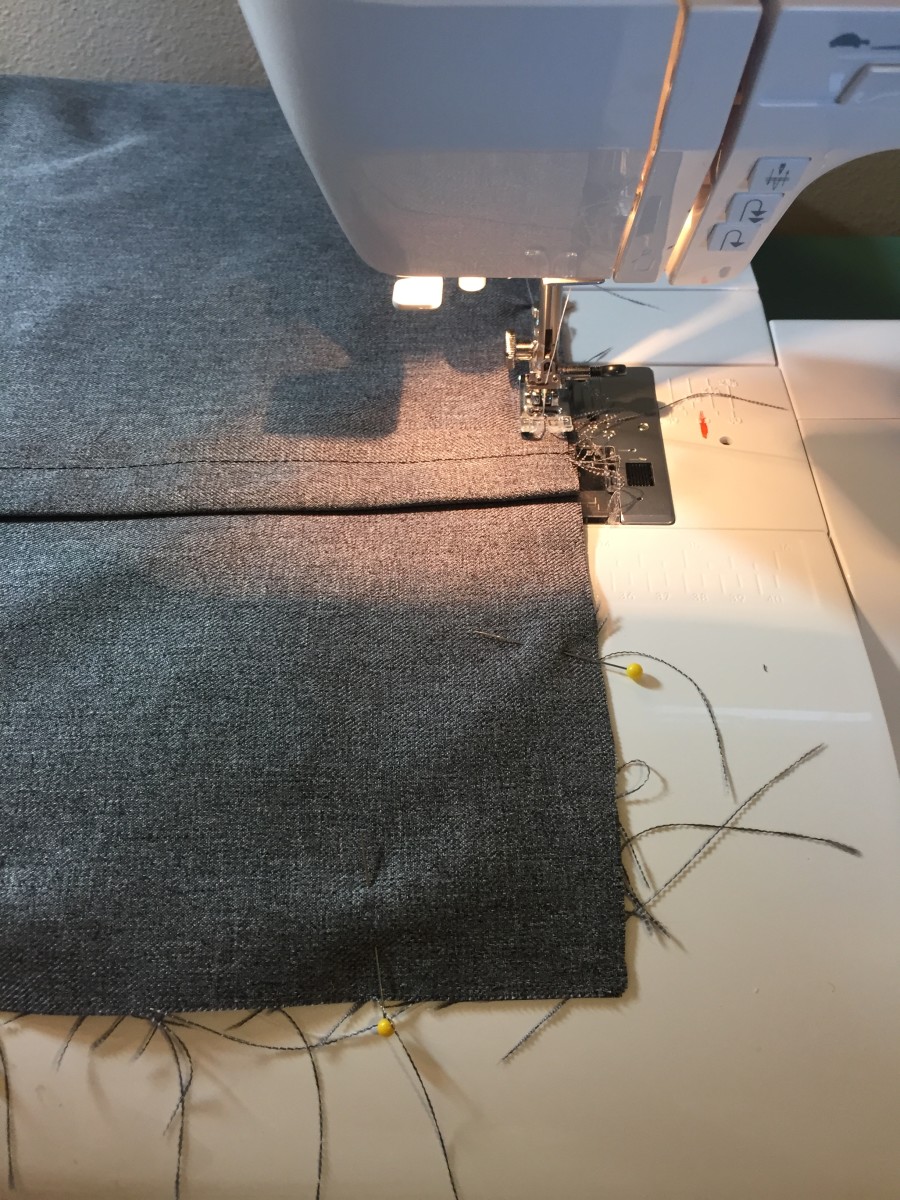
Sew over where the hem meets twice so that you don’t split your seam when you insert your pillow.
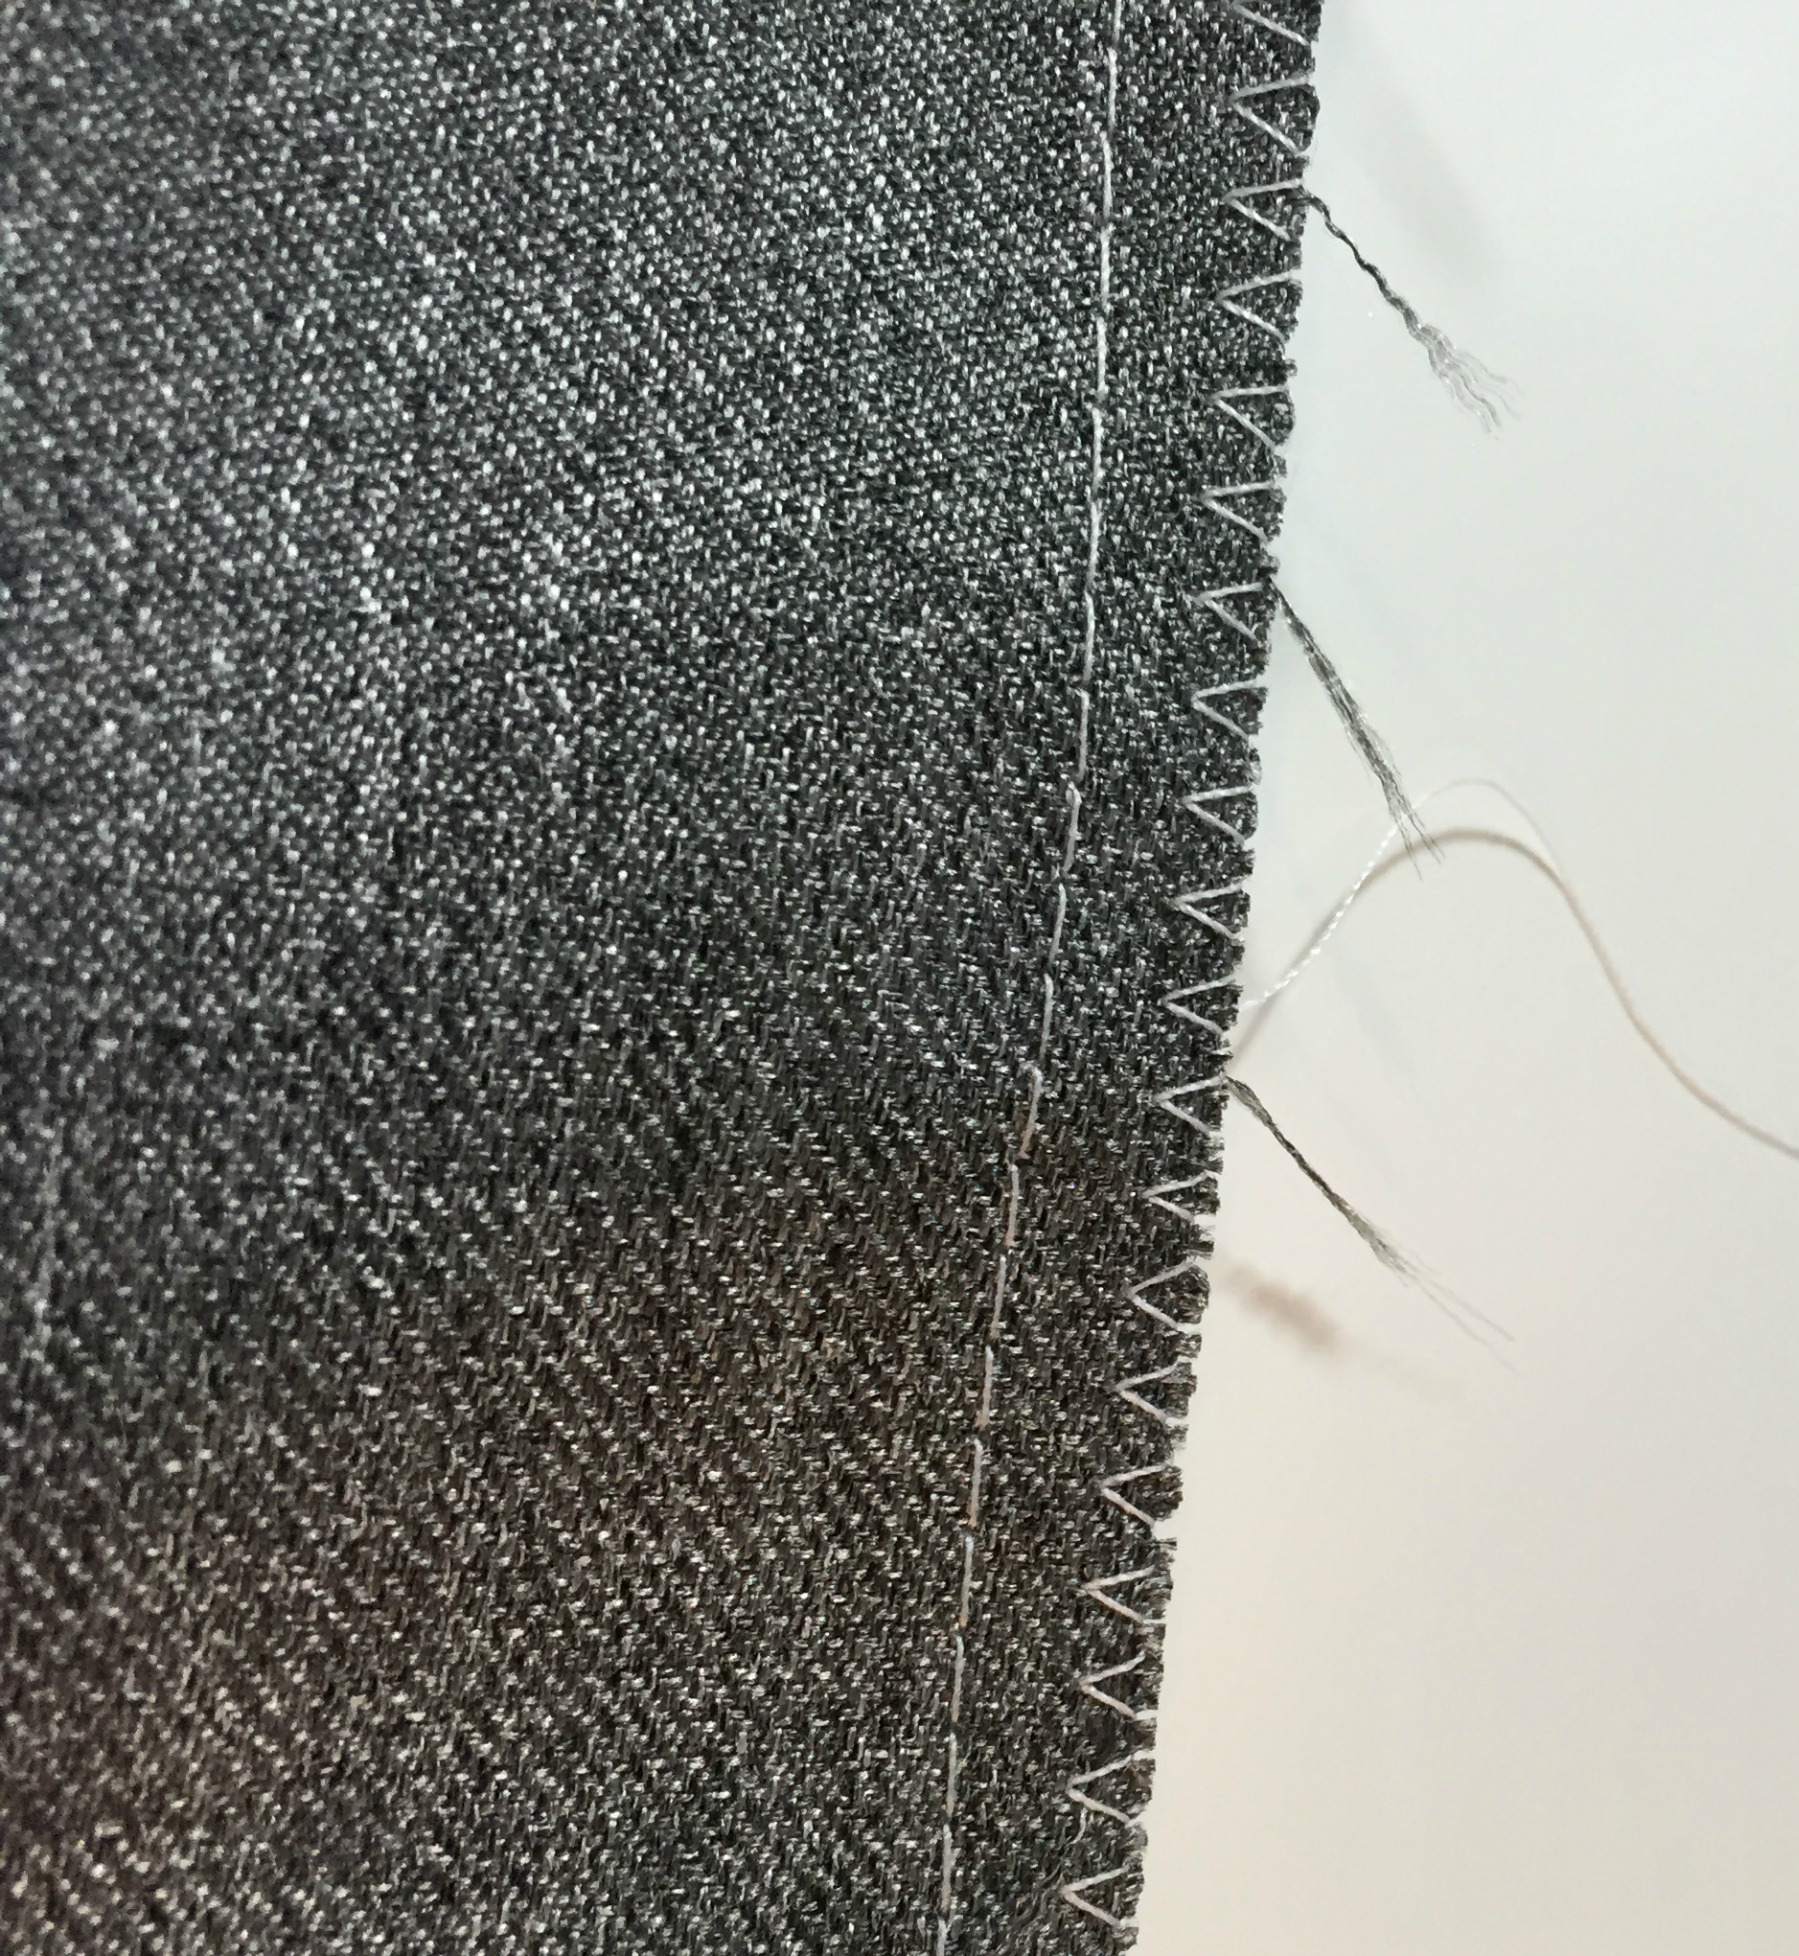
Match up all your sides, pin, and sew using a 3/8in seam. If you have a serger, use it! The suiting material will fray so if you don’t have a serger use a zig-zag stitch along the edge after you have sewn your 3/8in seam. I did one pillow cover with a zig-zag stitch and a second pillow with a serger because my dear husband bought me one!
Trim your corners to get nice points (don’t trim them if you serged or you’ll have a hole where your corner should be), turn right side out, and insert pillow form.

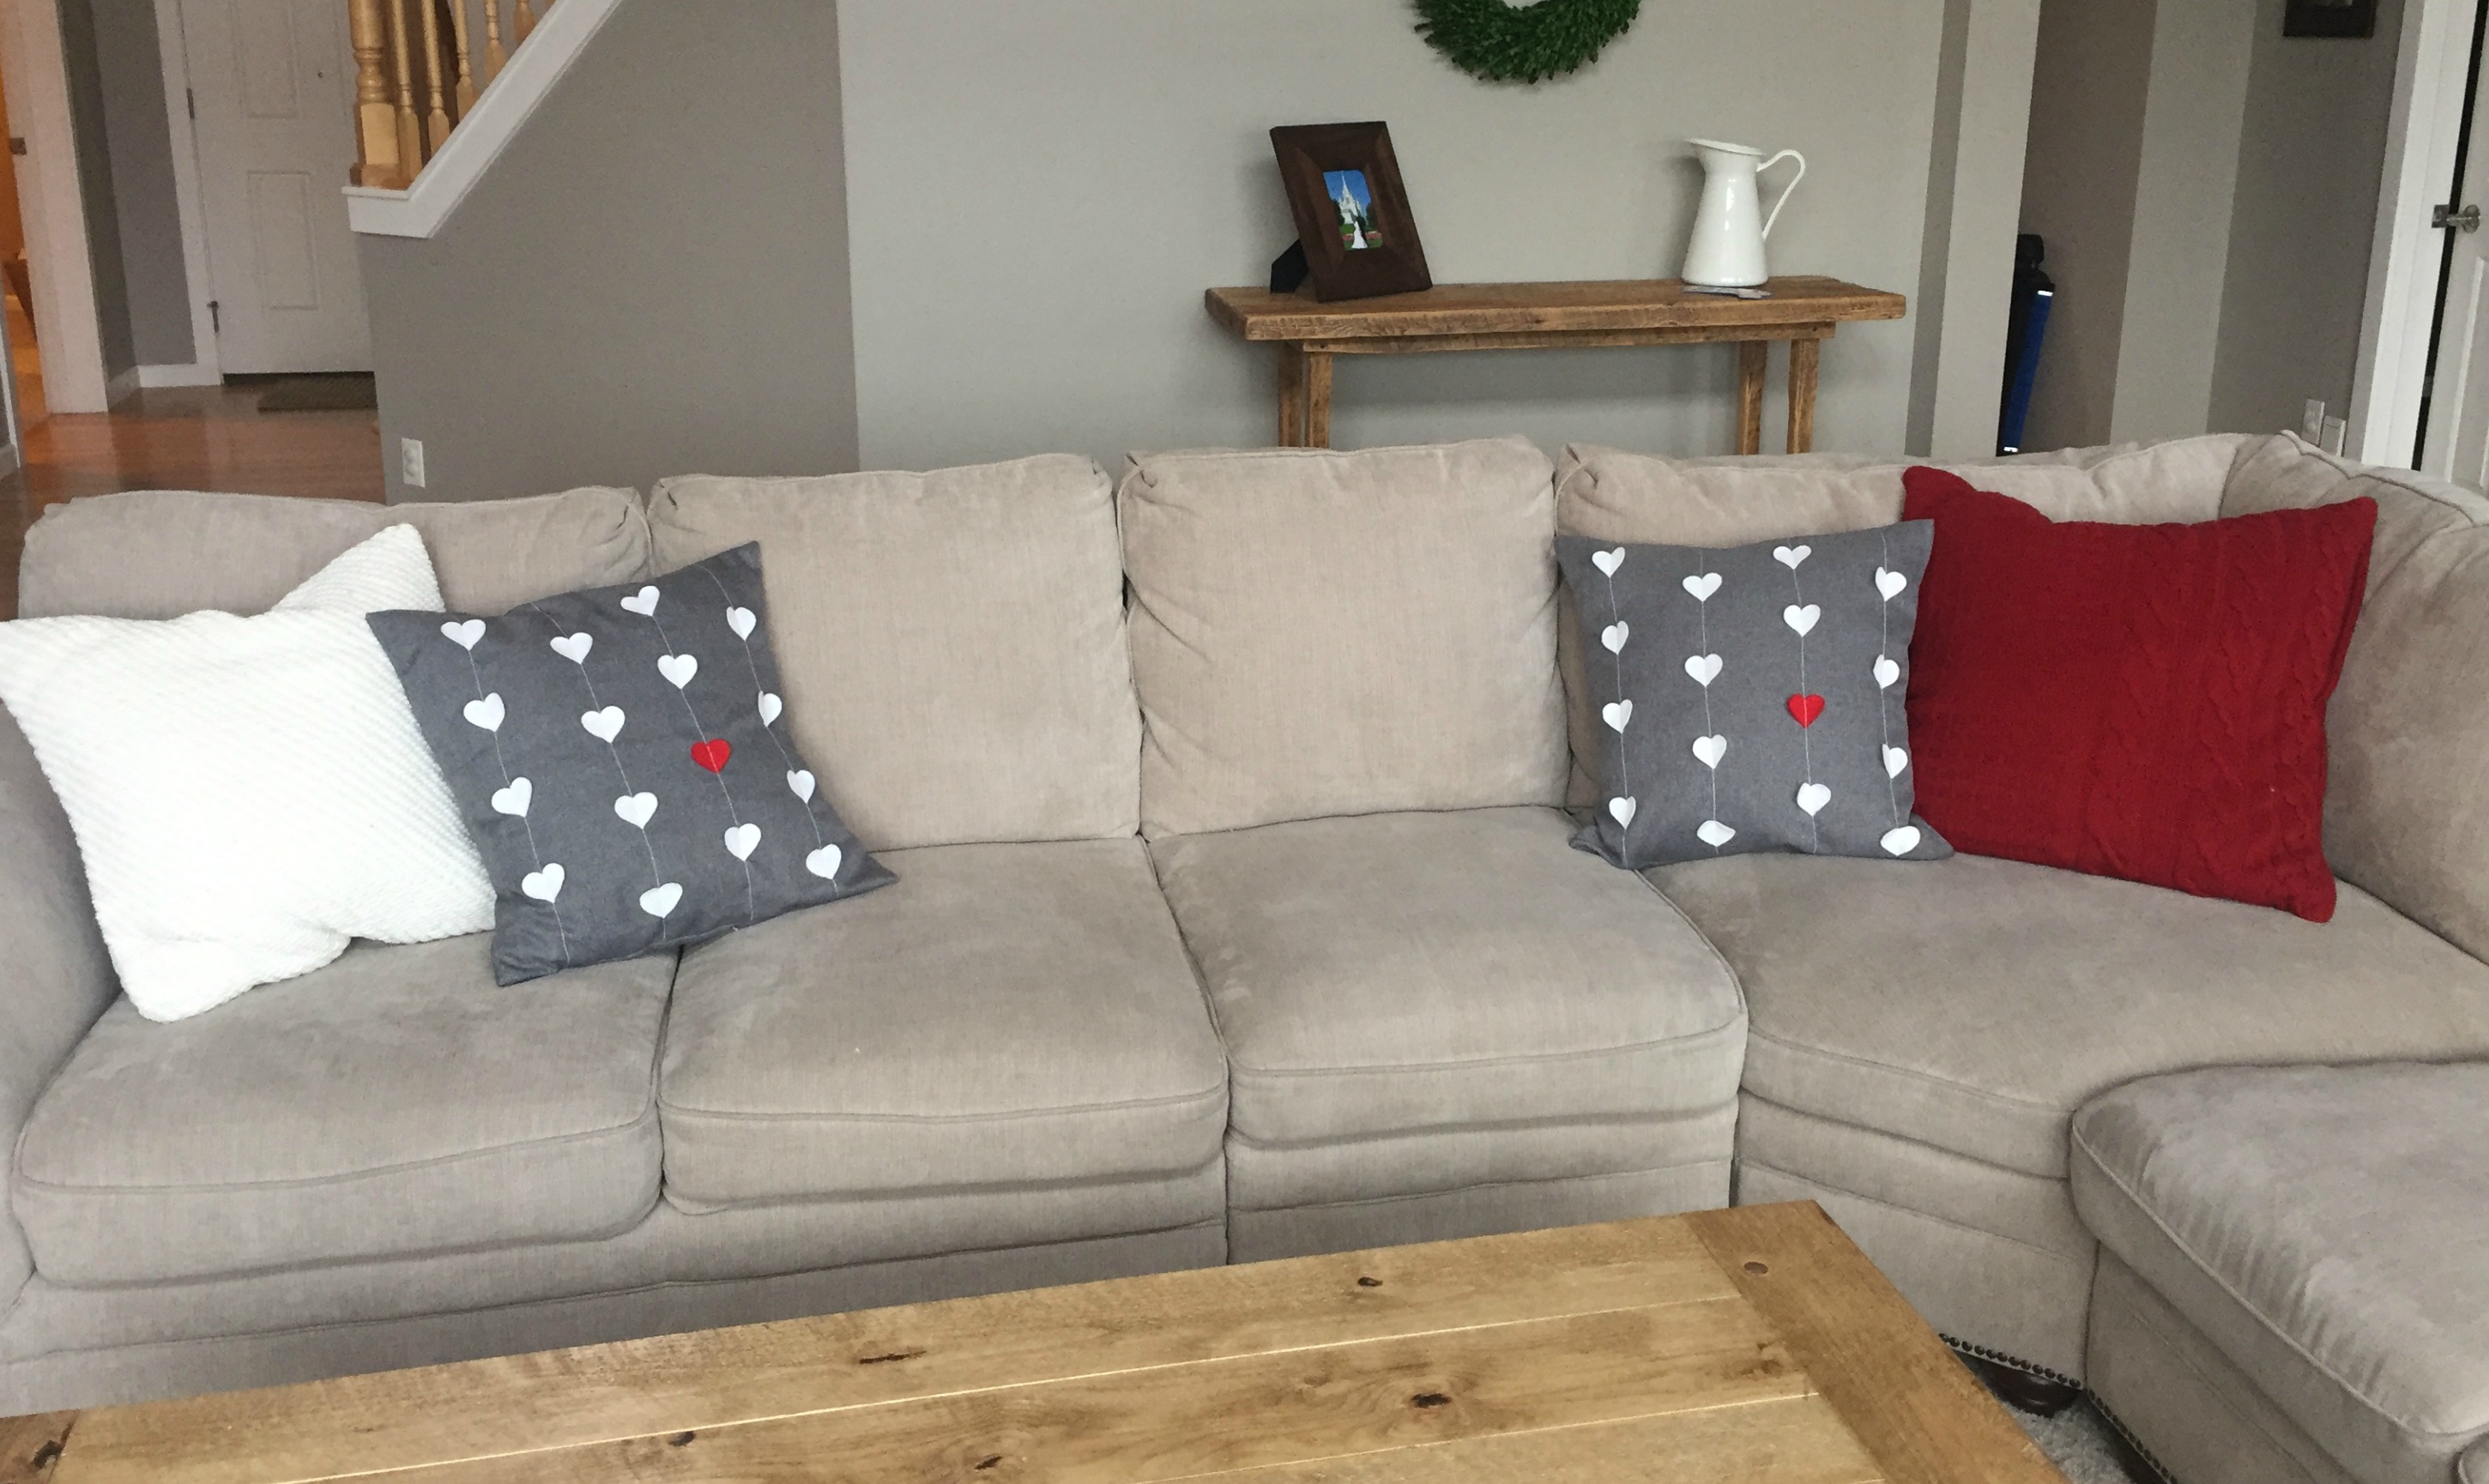
I am sure you will enjoy your new Valentine’s pillows. I know my boys sure love cuddling on ours!
Let us know what fabric you decided to go with. Burlap or canvas would be a fun alternative to the suiting material if you are wanting more of a shabby chic look. You might even try this with circles or stars for other holidays or bedroom decor.
Happy Valentine’s Day!

Leave a Reply