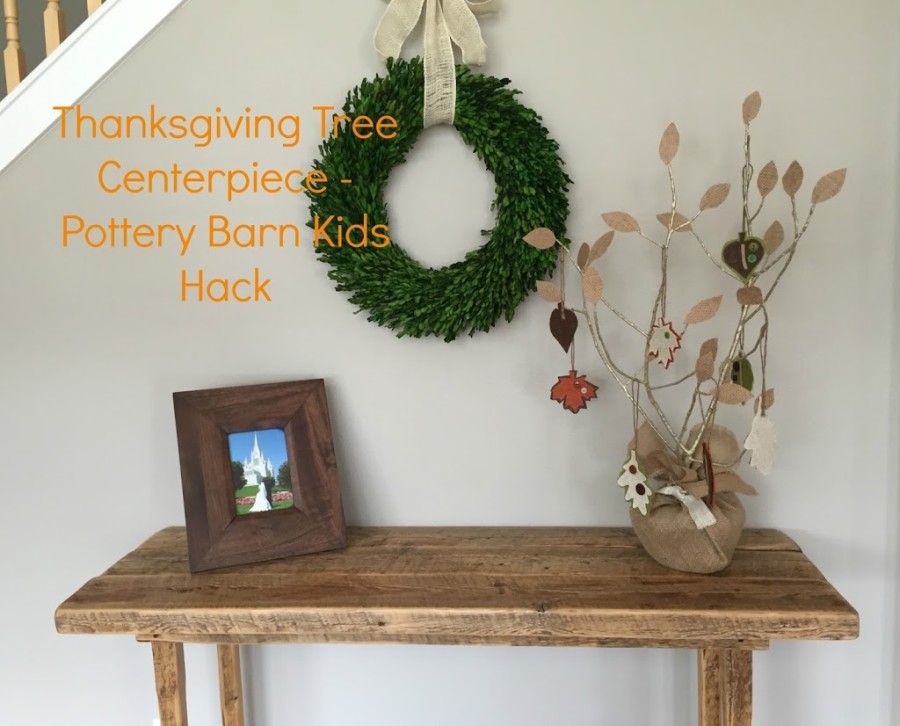
Last week I was checking my email and came across some adorable Thanksgiving decorations on Pottery Barn Kids. I fell in love with the Thanksgiving Tree Centerpiece for $59 and Leaf Ornaments for $22 as shown below.
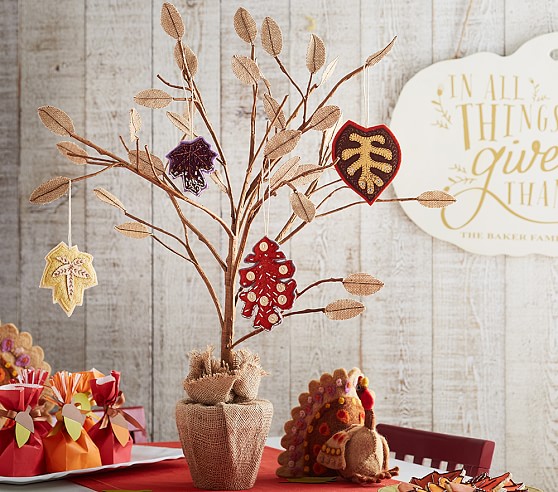 |
| Photo Property of Pottery Barn Kids |
So cute, right?
Well, at least everything is cute…besides the price.
Of course, the crafter in me said “MAKE IT!!!” and I happily gave in.
Honestly the project cost me less than $5 because I already had a pot lying around, along with some burlap, and random buttons for the leaf ornaments. I put under $10 in the subject because that is the most you would spend putting this cute little tree together.
I texted my Pottery Barn Hack partner ie: my sister-in-law Kiersten, the picture of the tree and wrote “we should make this” her immediate reply was “Tuesday?” So we got to work Tuesday and busted our trees out in about 2 hrs while juggling 4 children. I’d say that’s a pretty great craft.
What you’ll need:
-Tree Branch: I picked mine up next to the river while I was on a walk with my toddler, from a tree that had been cut down.
-Flower Pot: I had one lying around in the shed, but I saw some at Hobby Lobby for $1.37
-Foam/filler: You’ll need foam or some sort of stabilizer for your tree to stick into. My husband filled my pot with insulation foam spray he had in the garage and I let it dry overnight. You could use some floral arrangement foam or even dirt if you want!
-Floral Stem Wrapping similar to this I found at Hobby Lobby. The wrapping we used wasn’t dark brown like from this link, but I couldn’t find it online to show you. We found ours in the bridal section. It was white with gold glitter on it. $2.99
–Heat n Bond which can also be found at Hobby Lobby. $2.99
-Burlap: for the base you’ll need about 1/2 yard depending on the size of pot you are covering. I had a scrap piece that I used. You most likely wont use the whole 1/2 yard, but you need enough to make a square that you will then wrap around the pot base.
-Burlap: for the leaves we purchased 1/8yrd of each color. We bought brown, orange/rust, sage/green, and a white with gold glitter. which came out to about $2.50
-Hot glue and glue gun
-Scissors
-Buttons, felt, twine, and whatever else you choose to decorate with.
Step 1: Trim your branch. Snip off any unwanted limbs from your branch. Make sure to break off all those little stubs you don’t want to wrap floral wrap around. You can stick the branch in your foam filled pot now to look at the symmetry and shape of the branch.
Step 2: Wrap your branch, starting at the base with the with floral wrapping. I found it easier to take the branch out of the foam at this point so I could turn it while I wrapped. The floral wrapping is not sticky like tape but has kind of a waxy texture to help it stick to the branches. Your fingertips will feel waxy afterward. Make sure and go all the way to the tips of your branches. Sorry I have no picture of the wrapping, we were wrangling kids and trying to be quick!
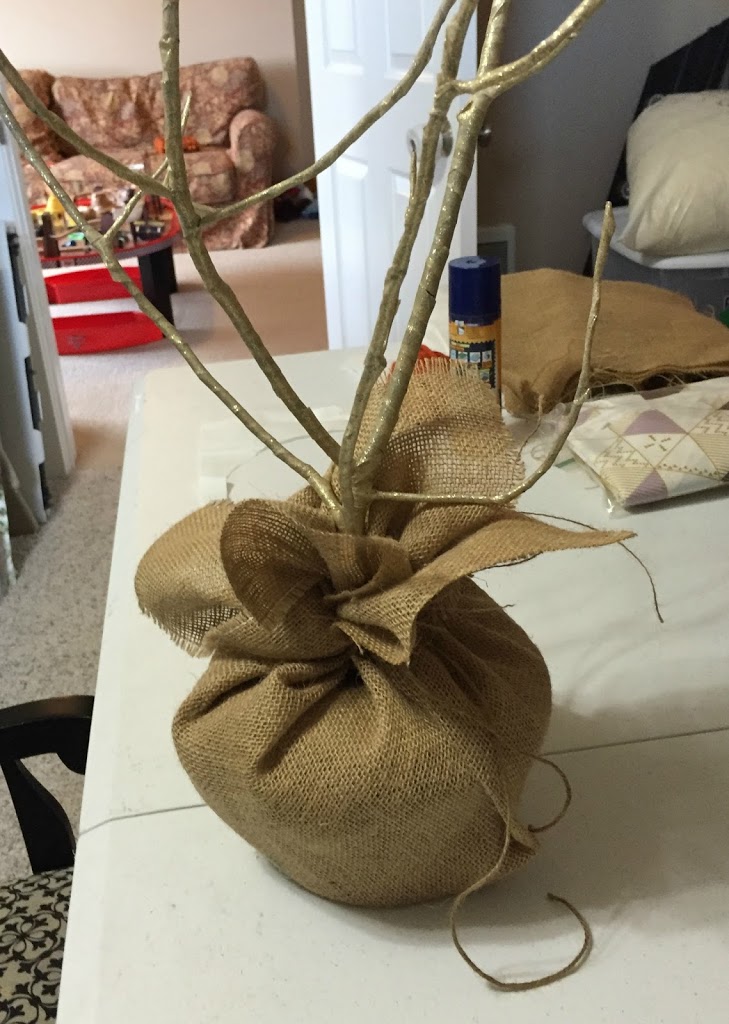
Step 3: Place your branch back in the pot and wrap your large square of burlap (cut from your 1/2yard) around the pot. It was nice to have an extra set of hands for this part. We tied ours off with twine and then later I went back with a white piece of burlap and tied a large knot.
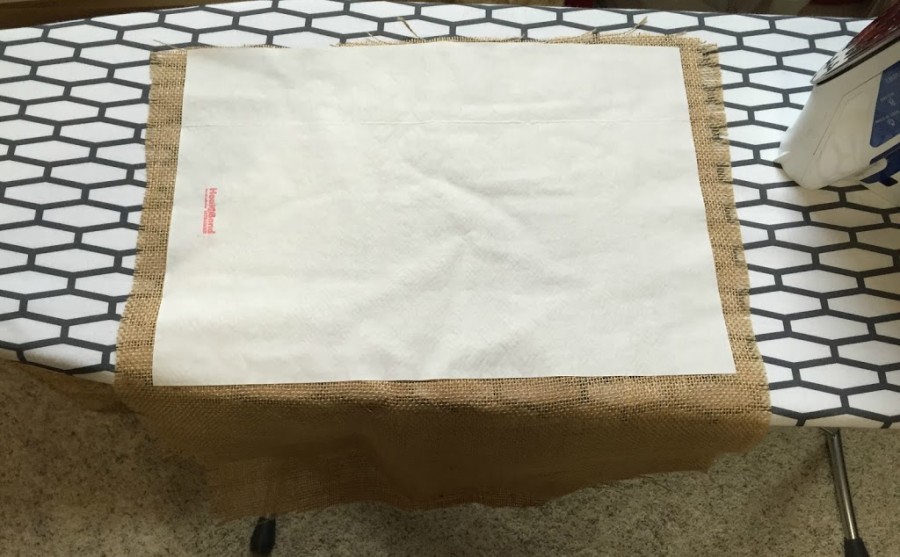
Step 4: Make your leaves. Start by ironing your burlap for the leaves. Cut a piece of Heat n Bond that is half the size of your burlap and iron it on. The plastic/glue side should be touching the fabric and the paper side should be up.
Once you have ironed the paper side thoroughly and it has cooled, peel off the paper and you will have a plastic/glue film left on your burlap. Now, fold the burlap section without the Heat n Bond on top of the portion with Heat n Bond and iron them together (sandwiching the glue between the pieces). You are bonding your burlap together so that it is stiffer and won’t fray when you cut out your leaves. Repeat this process with all of the burlap designated for the ornament leaves.
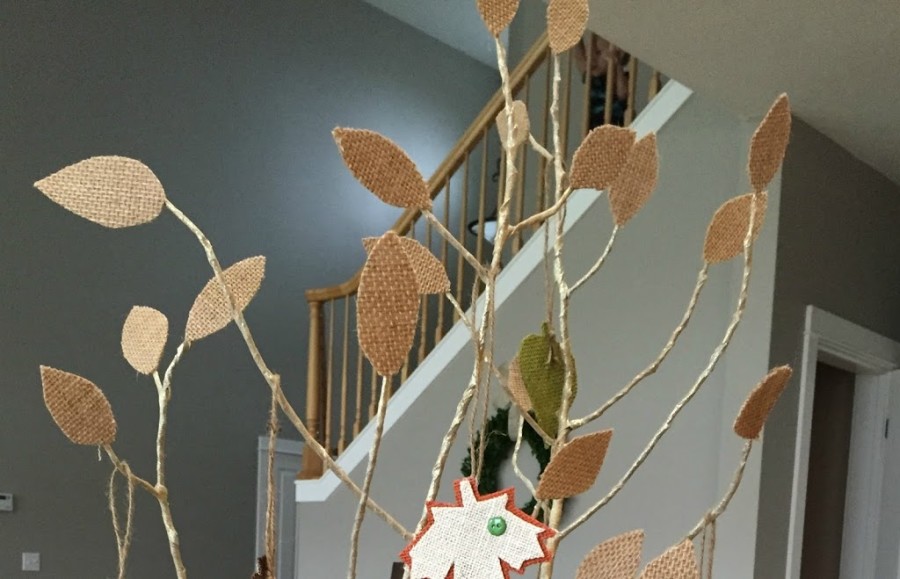
Once the burlap has cooled down from being ironed, start cutting out leaves for each of your branch tips. we used the same color burlap for the base as we did the branch tip leaves. I just kept cutting until I had one for each tip. I did not use a template for the branch tip leaves, but did for the ornament leaves. Here is a close up of the branch tip leaves. You could add twine to each of them with some glue to make leaf veins if you want.
I found this template on this website on Pinterest. I printed it out and used it for the ornament leaves.
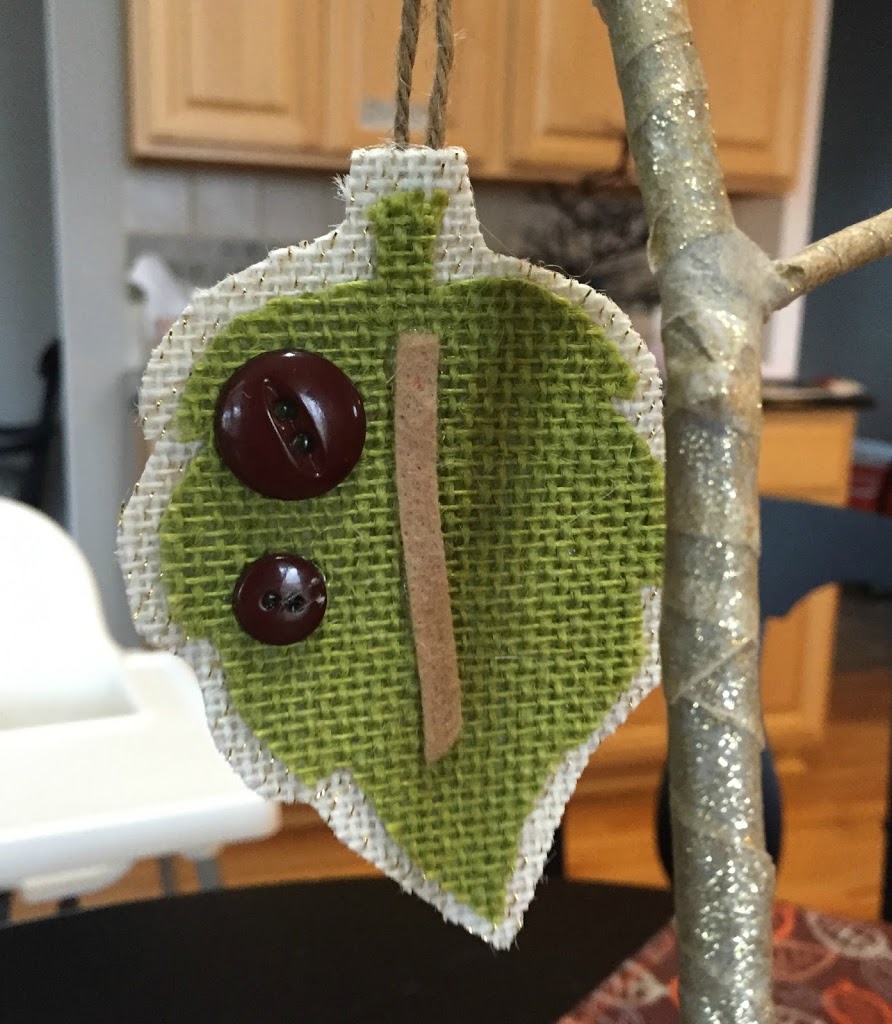
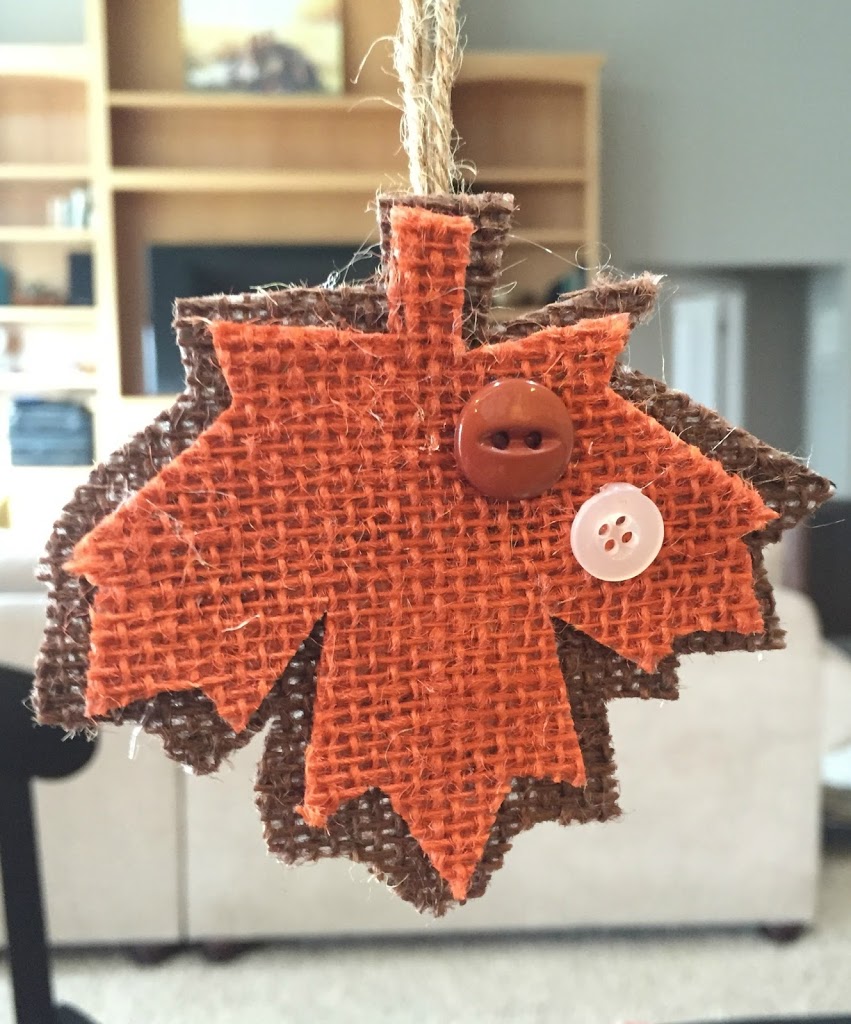
I cut out the ornament leaves on the white, orange, green, and brown colors of burlap and then laid them onto another color and cut around it to make a border. Glue those pieces together and then add some embellishments. We used buttons and felt. Cut out some twine to glue to the back of the ornaments so they can hang on the branches. You could also use embroidery floss here and put some family names on the leaves. Here are some close ups of a few I made. See how the edges aren’t frayed? That’s the Heat n Bond at work.
Step 5: Glue your branch tip leaves onto your tree branches. I placed a little hot glue on the tip of each branch and then stuck my leaves on to them. Be careful here, your fingers will thank you.
Step 6: Hang your ornaments and enjoy your handy work! Here is Kiersten’s tree at her house. Don’t you just love it!
Here is another shot of mine. If I could only decide which table I want it on!
Another thing Kiersten and I wanted to add to the tree was to make them “Thankful Trees”, and have our children write down what they are thankful for. We would then attach those notes to the tree. It would be a wonderful family tradition. Kiersten thought mini clothespins would do the trick, and would look great with the burlap as well.
Let us know how you made your Thanksgiving Tree Centerpiece into a Thankful Tree. Here are some things I’m thankful for: My husband, my boys, and all our family. I’m grateful for my church and the gospel of Jesus Christ and for my Savior. I’m grateful for sunshine and the beauty this earth has to offer.
Take sometime to think about what you are truly thankful for!
Blessings to you all!





Leave a Reply