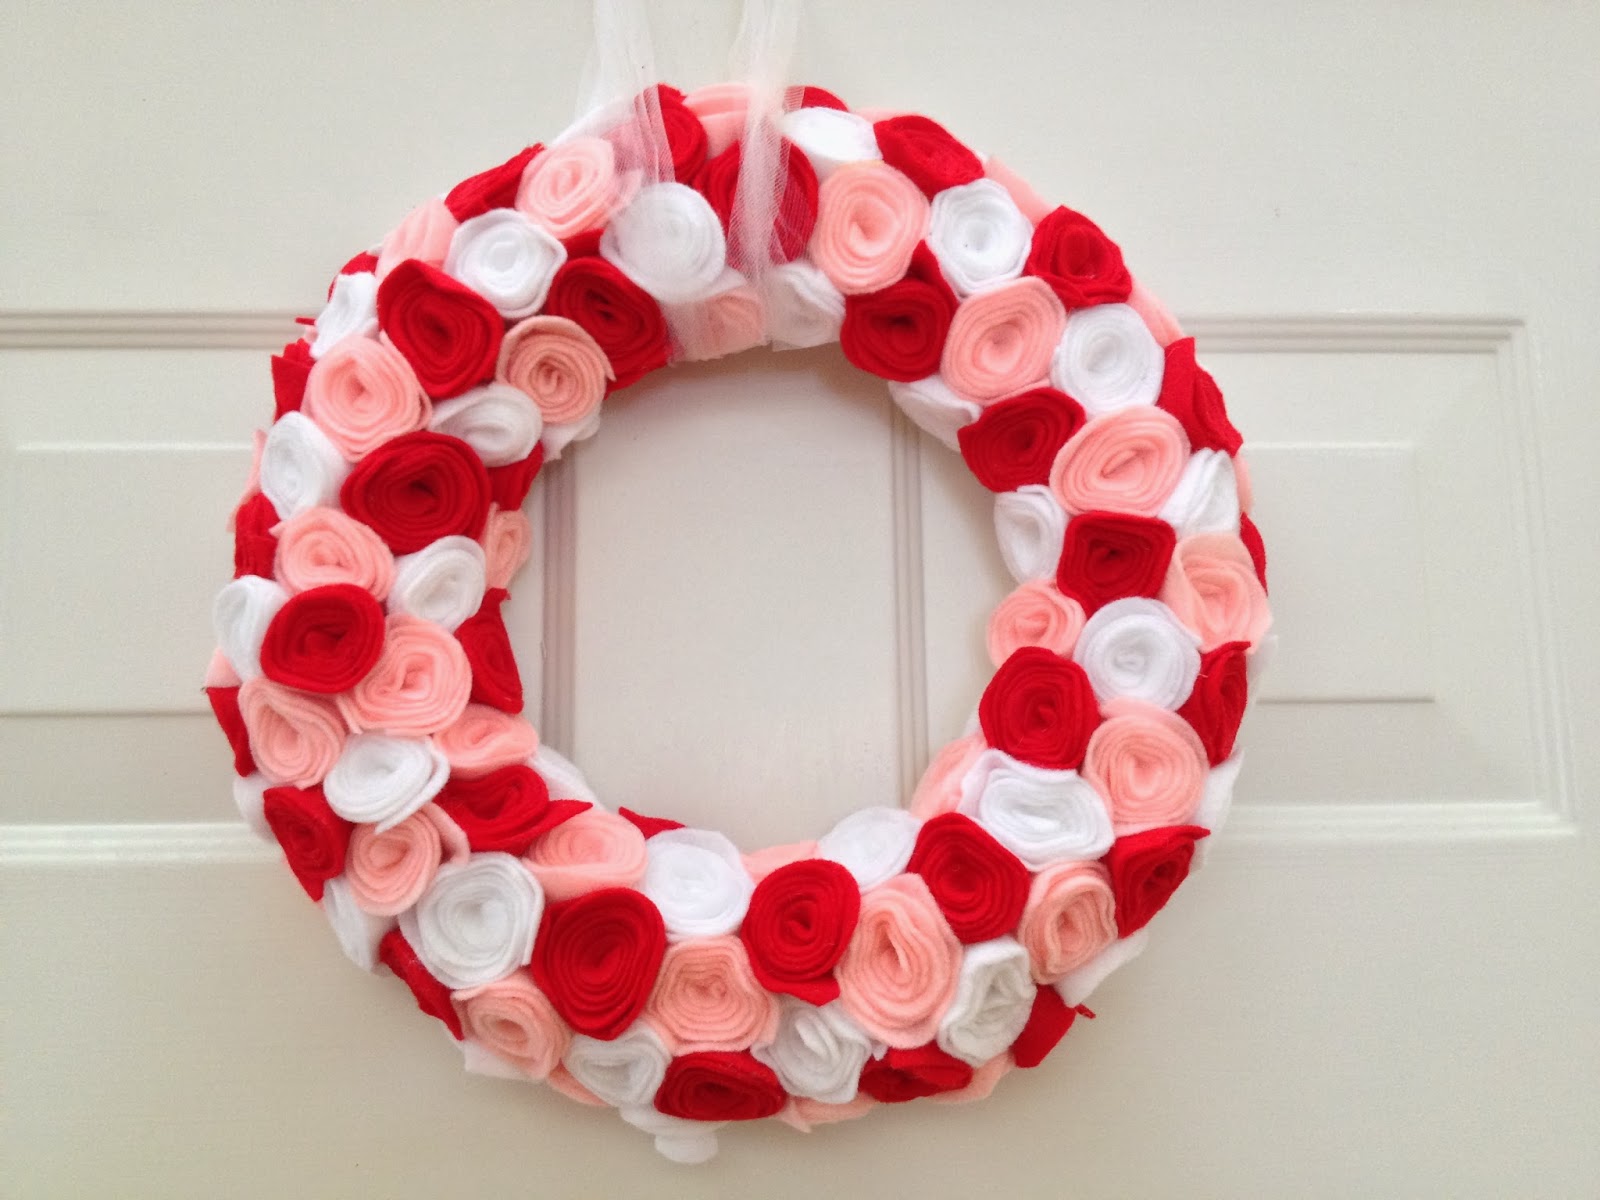
“Roses are Red” Valentine Wreath
I just love the fun wreaths that are floating around out there. And I love even more to see one of those cuties hanging on my front door! This is one I saw a few years ago and I actually put it together last year. Although I do not have many photos, I will do some step by step instructions to help you out.
Supplies:
*Styrofoam wreath I believe mine is 14 inches
* A plethora of felt (red, pink, white)
(“Would you say I have a plethora?”)…” anyone know that line? (“Anyone?, Bueller…Bueller?”) Ha, I crack myself up! I think I purchased 10 sheets of each
*glue gun, glue
*good fabric cutting scissors
*a good movie
This wreath is not difficult at all which means you can put it together while you are watching all your favorite shows (Sherlock, Downton Abbey).
Step 1: cut each sheet into four to six sections (rectangles), depending on how big you want your roses.
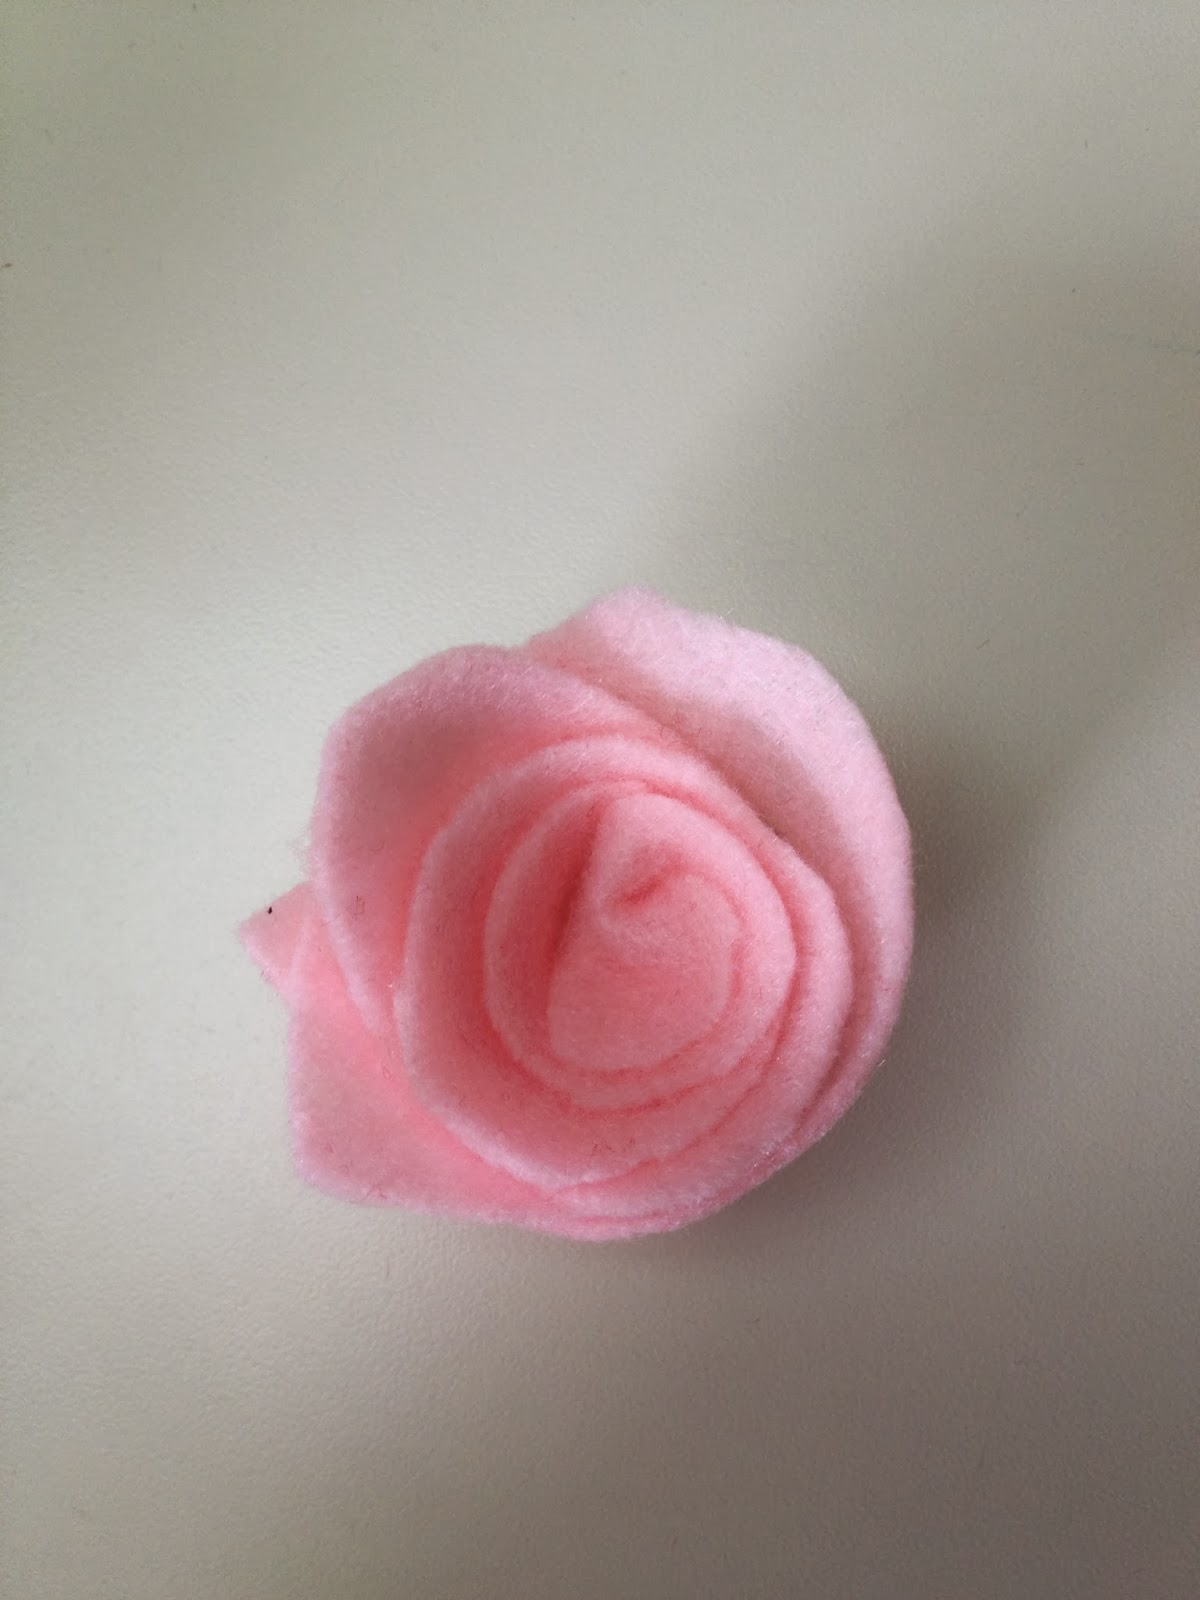
Step two: cut each rectangle in a circular motion, beginning with the outside and working your way to the center. As you can see they do not need to be perfect, though I did round the edges a bit.
Step 3: Wrap the felt in a circular motion, beginning in the center and working your way out to make your roses. They will for the most part stay together so if you want to do a few at a time before gluing them on go for it.
Step 4: Assemble your wreath by gluing your roses on in whatever pattern you wish. Then when you are finished either glue a piece of ribbon to the back as a hook or you can wrap material like I have done and tie it off.
Have a Happy Valentine’s Day!
Abby


Leave a Reply