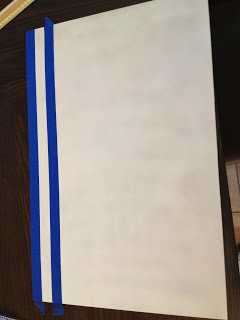
Step 3: After the boards have dried, tape off your spacing. For my son’s I did about every 3 inches, for my daughter’s it was the width of the tape. You can make these however wide you want, in whatever direction, in whatever pattern (chevron, diamond shaped).
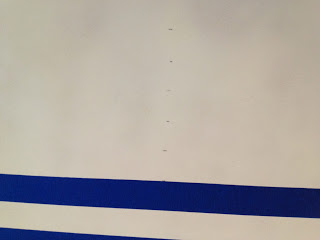
You can see in the picture below that I made small marks along the center to make sure my tape stayed straight.
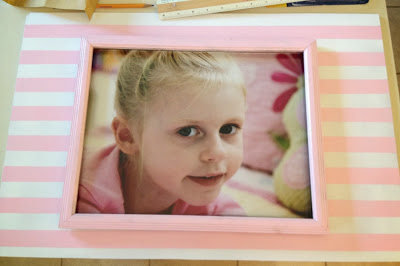
Step 4: Paint your stripes. On my son’s frame I used the tangerine acrylic paint and my daughter’s I used some pink spray paint I had left over from a lamp I did for her room. After you paint the stripes pull the tape off carefully and let dry.
Step 5: To use the gel stain you will need a sponge brush and a clean rag. Swipe your brush across the board and then immediately wipe it. Don’t be afraid because this will look a little dark, you will do some sanding to soften the color later. I did this on every board in my son’s room as well as the frames. Swipe and wipe, Swipe and wipe.:)
Step 6: Sand wherever you feel you want to soften the swipes. I mostly wanted to make sure no swipe marks were visible. I liked leaving a more rustic look on his. My daughters frame I completely omitted the stain step. So if that’s your preference do that.
Step 7: Attach the wall claws to the back of the board. Its easier to attach these before you attach the frames. (not like I know from personal experience or anything)
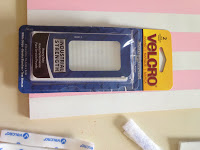
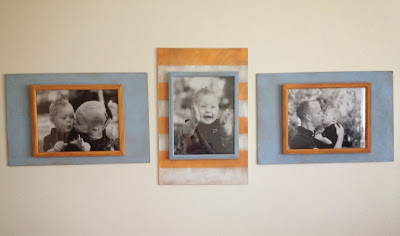
Step 8: Velcro time!! I cut mine in half lengthwise and then attached them to the middle of my frame, top, bottom, and sides. Then I did some measuring to determine where the other part of the velcro needed to end up on the board. The best thing to do is measure your board and measure your frame and then do some centering according to those measurements. After that stick your velcro on the board, put your pictures in the frames, and attach the frame to the board.
Step 9: Give yourself a big pat on the back for your amazing work!!



Leave a Reply