• Email
    • Facebook
    • Instagram
    • Pinterest
    • Twitter

Girl and Her Kitchen

Plan. Make. Eat. Design. Craft. Create. Celebrate. Life.

  • Home
  • About the Girl
  • Recipe Index
  • We LOVE
  • Weekly Menu

St. Patrick's Day

Fun St. Patrick’s Day Treat!

100_8898.jpg

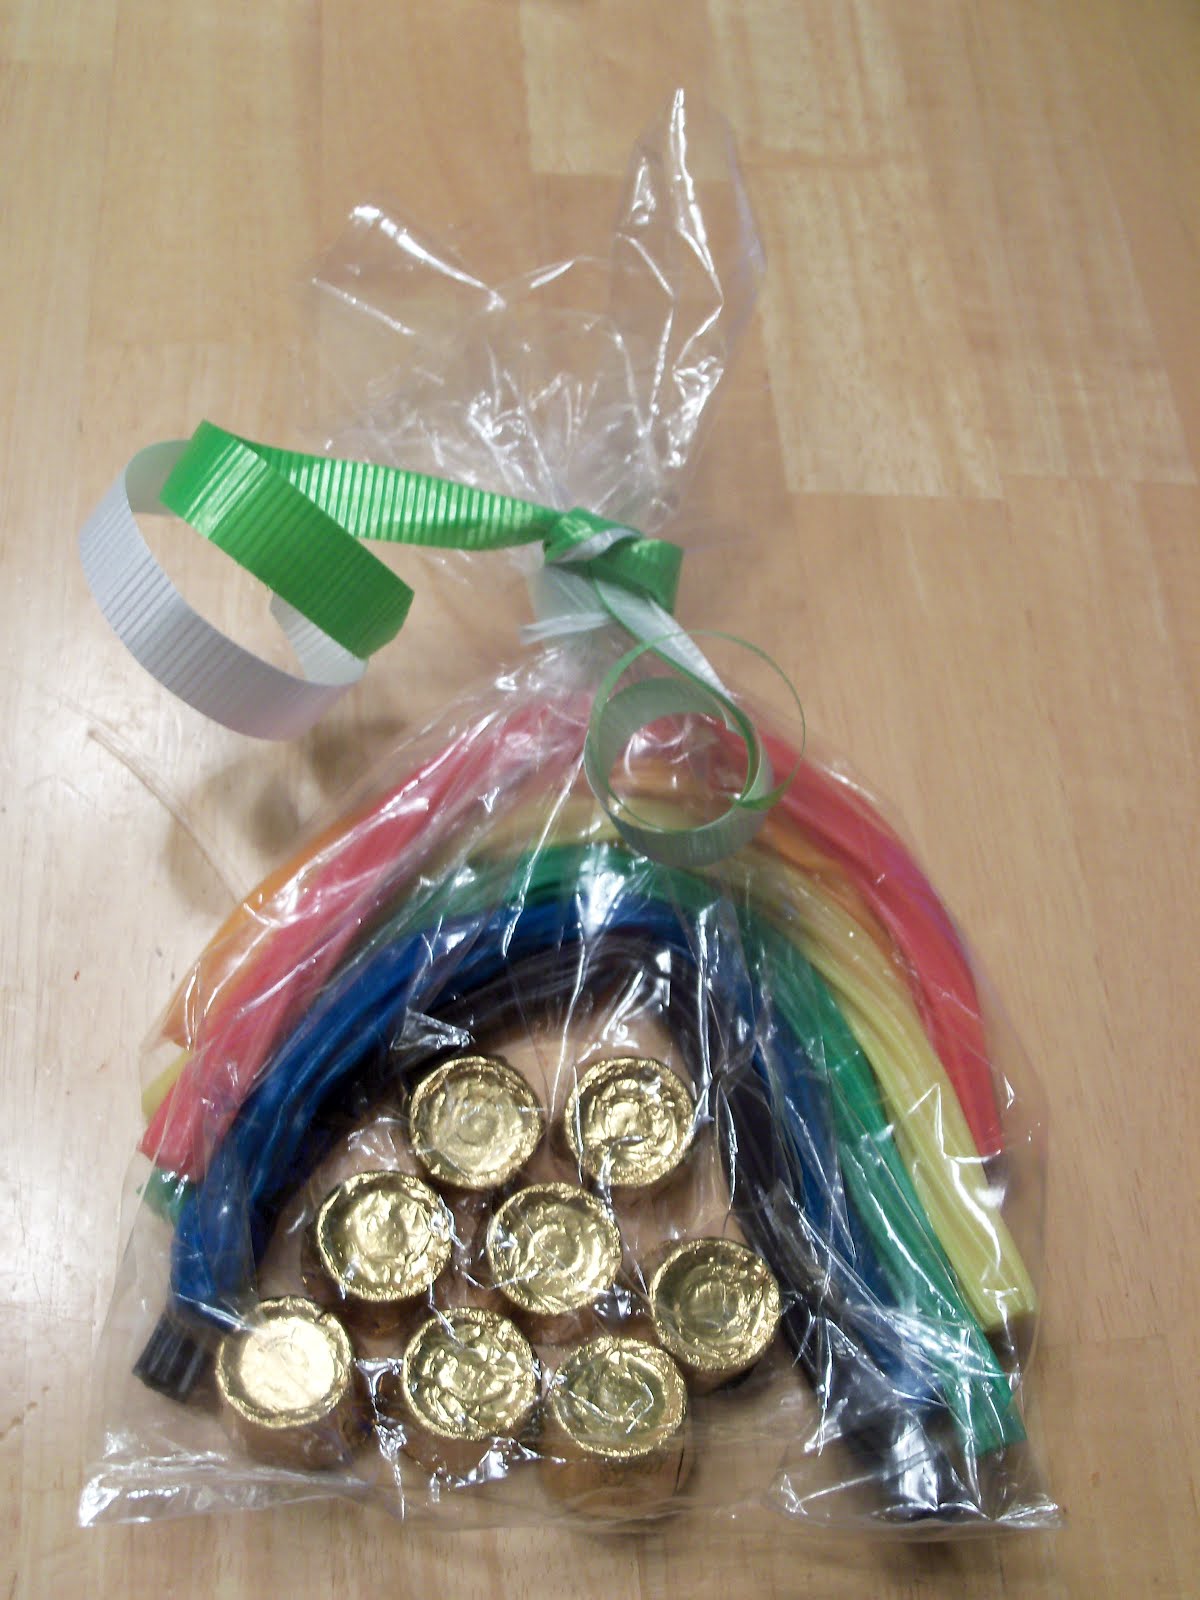
I saw this on a craft website a few weeks back and I couldn’t help but make this with my kids! They had a blast creating them (and nibbling a few twizzlers themselves!) and they looked so pretty once we put them in the bag with the “gold” and tied it all together with some green and white ribbon. They will be giving them to teachers tomorrow and are super excited! My little guy wasn’t exactly making them to pass out, but he and I had some fun sorting all the twizzlers into different color piles, making it easier for the girls to pick their rainbow colors. These are really simple, super cute and make a great treat or gift for someone on St. Patrick’s Day! Enjoy!
What you will need:

1 package of Twizzlers Rainbow Flavors
1 package of Rolos
Clear plastic bags
Green Ribbon

Assemble twizzlers by rainbow colors-red, orange, yellow, green, blue and purple and then bend into rainbow shape. Slide into clear plastic bag. Add rolos to fill underneath. Secure bag with green ribbon. Pass out to friends, family, teachers and see them smile! 🙂

HAPPY ST. PATRICK’S DAY! 🙂

Heather

Leave a Comment

Appetizers Breads, Quick Breads and Rolls

Pesto Mozzarella Bread

100_8874.jpg

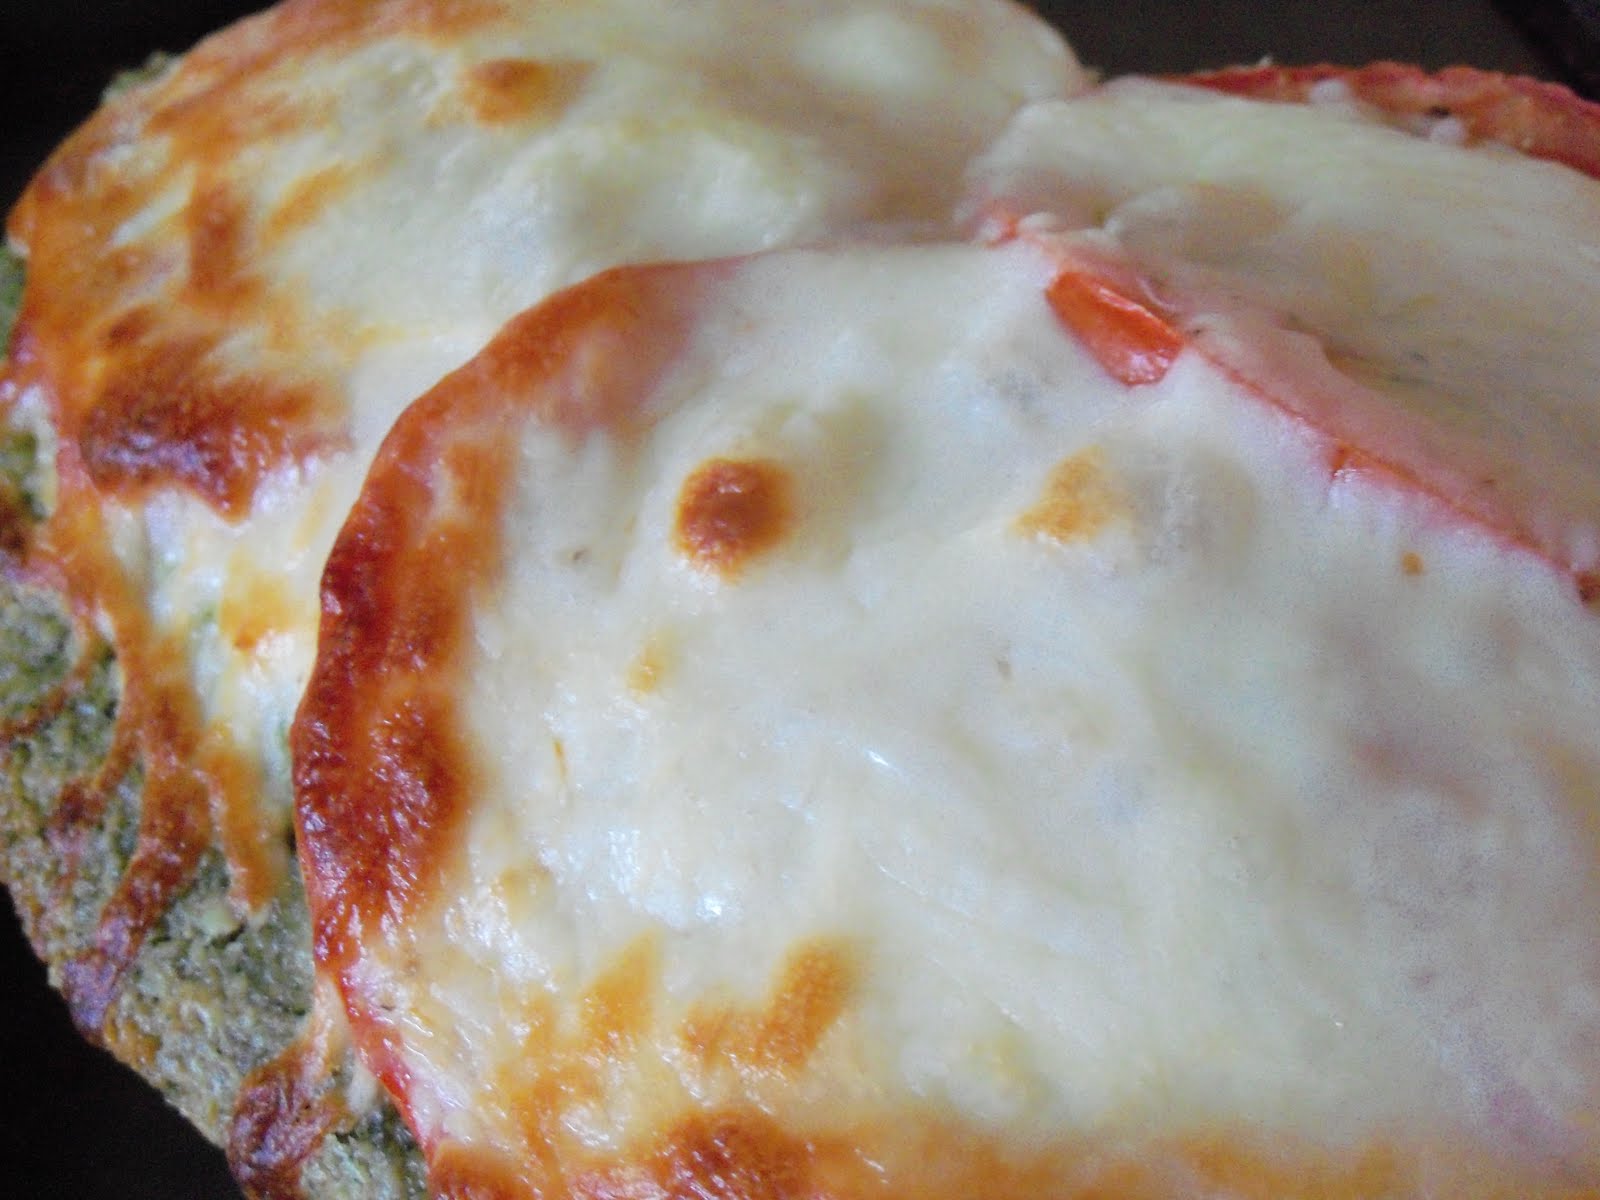
Ok-go workout. NOW. Go exercise and burn as many calories as you possibly can. Seriously. Why, you may ask? Because when you make this next recipe, you will not be able to control yourself. Not even a little bit. You will want to eat the whole thing, and possibly, even go back and make some more. It is that good. Soft bread with a chewy crust. Nutty pesto mixed with thick, creamy creme fraiche. Ripe, juicy and sweet tomatoes and gooey mozzarella cheese to top it off. Hungry? Go ahead, try out this recipe, you will not be disappointed. I made it tonight with a simple marinated grilled chicken and roasted asparagus. This bread is really the star of the show, so not much else is needed besides a knife to cut it into pieces (if that is really even necessary!:) and a napkin to wipe your mouth so no one ever suspects how much Pesto Mozzarella Bread you really ate.
I used a Rosemary Pugliese bread for mine, but you can really use any good fresh bread. You can even bake your own focaccia if you have time. The toppings really steal the thunder of the bread so as long as it is fresh and you like it, it should be fine.

As far as the pesto part of the recipe, this is once again, your choice. I make my own pesto a little different with pine nuts (1/2 cup), walnuts (1/4 cup), basil (1/2 cup), salt, pepper and olive oil pulsed in a food processor until the consistency is right. Feel free to use this recipe, or create your own. Pestos use garlic, basil, parmesan, and typically pine nuts. I have tried it with all sorts of different kinds of nuts, some of the above ingredients, and even arugula and spinach instead of the basil. Make sure you use a good extra virgin olive oil. Play around with the flavors if you are going to create your own, until you find the flavor and consistency that you like. As far as I am concerned, there is no right answer when it comes to pesto. Make it how you like it. Pesto originates from the Italian word, “pestare” which means to pound or to crush. SO…as long as you take your ingredients and crush them to death with your food processor, feel free to call it pesto. I am Italian so I believe I have full rights to give you permission! Of course, a store bought jarred pesto will do the trick too, but fresh is always best!

Pesto Mozzarella Bread

1 loaf of your favorite bread, sliced lengthwise into 2 big halves
1/2 cup pesto
1/2 cup creme fraiche * or sour cream
1 1/2 tsp sugar
Cherry tomatoes, split in half (enough to cover your bread)
Freshly ground pepper
Mozzarella cheese fresh or shredded (enough to cover your bread)

Mix pesto, creme fraiche and sugar in a bowl. Spread onto bread. Cover with cherry tomatoes. Sprinkle them with pepper. Cover bread with mozzarella. Bake at 350 degrees for 15 minutes or until cheese is browned and bubbly. Cool for five minutes out of the over. Slice or consume entire loaf on your own. Your choice. You will not be judged. 🙂

*Creme Fraiche can be bought at the grocery store, or you can easily (and much more cheaply) make your own. It is really easy. Do not be scared off by this recipe. I have made it, consumed it and nothing awful has happened to me. I know the directions can be a bit ….ummm…strange to some, but it really works and tastes WONDERFUL! It can even be sweetened and used in conjunction with the Chocolate Lovers Dream Cake .

Give it a try! I know you will appreciate the results!

Creme Fraiche

1 cup whipping cream (NOT ultra pasteurized, just pasteurized)
2 tblsp buttermilk

Combine ingredients in a jar or other glass container and cover loosely. Let it stand at room temperature for 12-24 hours or until it begins to thicken. Stir well and refrigerate. Should stay fresh for up to two weeks.
Pin It

Follow Me on Pinterest

Heather

Leave a Comment

Salads and Dressings

Crunchy Asian Salad


100_8864.jpg

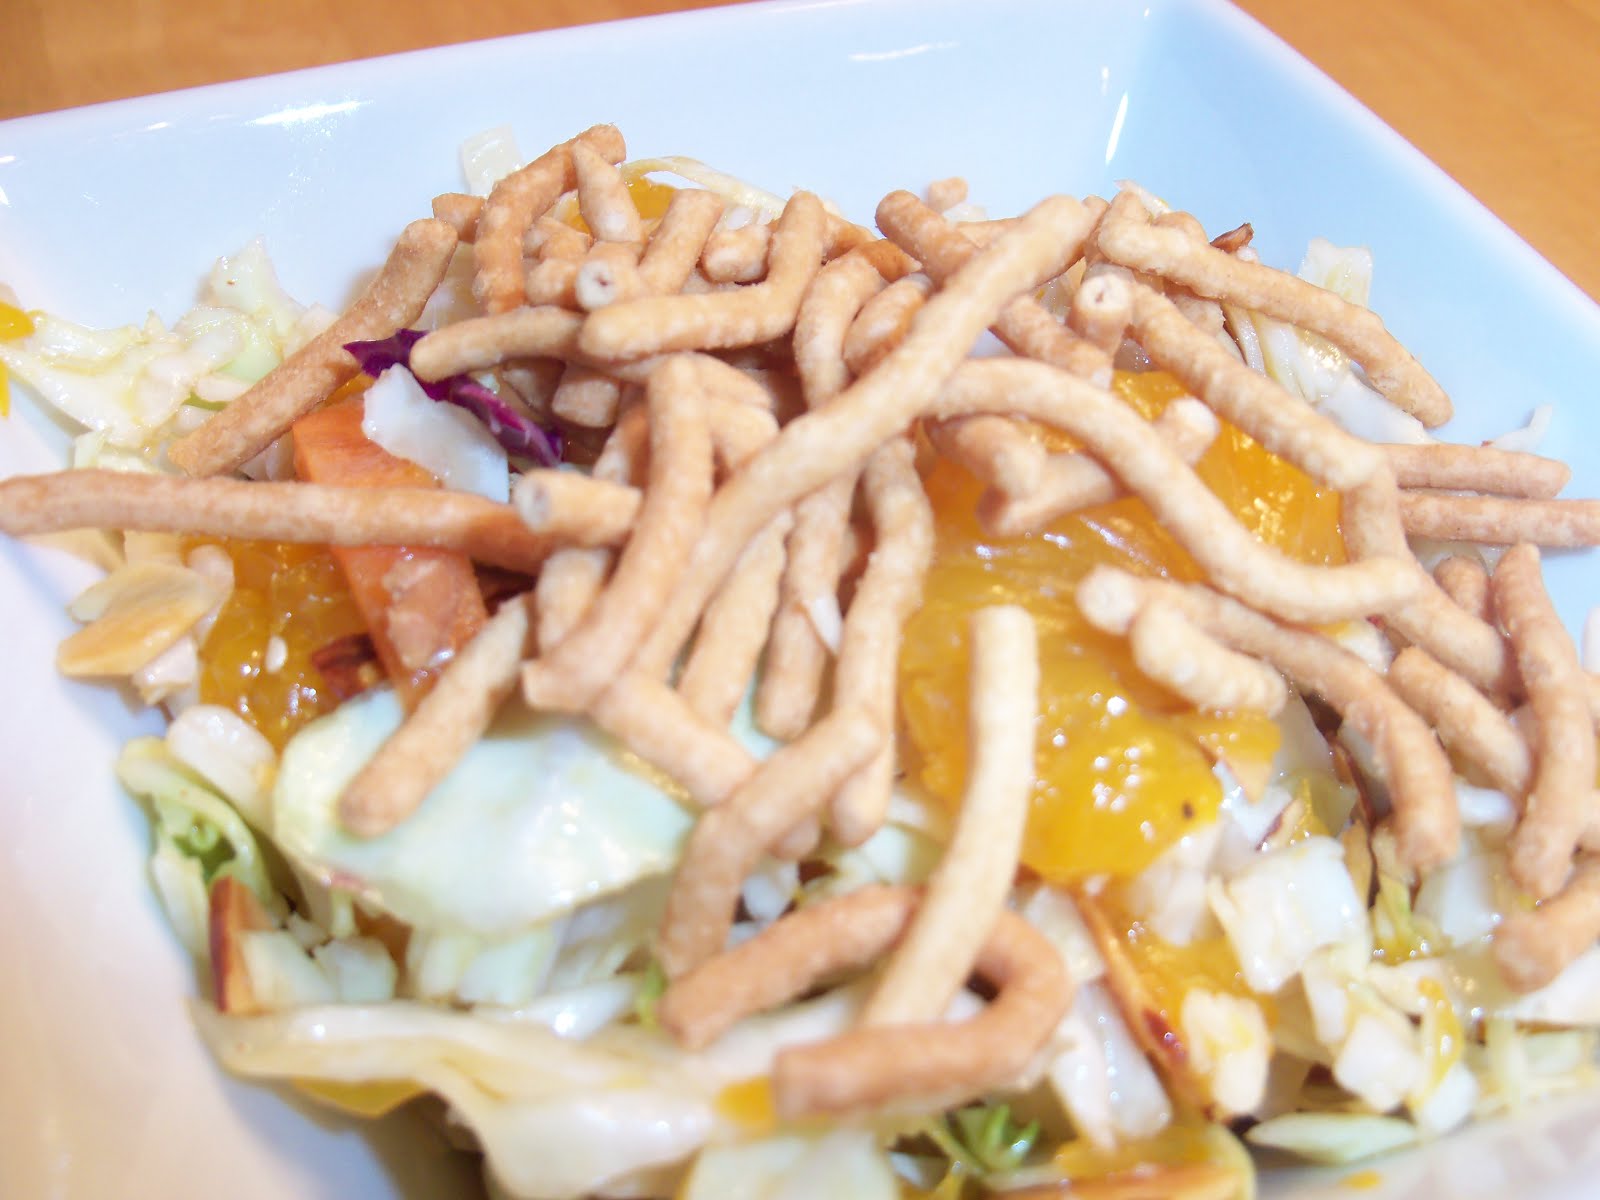
It is always nice to have a nice salad with your meals. When I was thinking about making my coconut chicken, I was trying to think of what would go good with it. The Asian salad with the ramen noodles came to mind, but I thought I would try something different. I knew that I wanted a crunch, some sweetness and some substance and I came up with the recipe below. The whole family approved and my Crunchy Asian Salad was born!

Crunchy Asian Salad

3 cups shredded cabbage
3/4 cup sliced water chestnuts
1/4 cup toasted almonds
1 1/2 cups mandarin oranges
1 cup Chow Mein noodles

Dressing:
1/3 cup canola oil
1/3 cup apple cider vinegar
3 tblsp soy sauce
3 tblsp sugar
1/4 tsp powdered ginger
1 tblsp sesame seeds
salt and pepper to taste

Combine all dressing ingredients in small bowl or mason jar. Whisk or shake to combine. Combine salad ingredients. Pour desired amount of dressing over the top (you will not use all the dressing). Toss and serve!
Pin It

Heather

Leave a Comment

Chicken & Turkey Main Dishes

Thai Coconut Chicken

100_8870.jpg

My whole family is made up of great cooks. I feel very blessed in that regard. Almost everyone brings something to the table-literally. I really hope to feature a recipe from each of them at some point on my blog. I have learned a lot from everyone and we love to share recipes which is really helpful when you have some great cooks in the family!

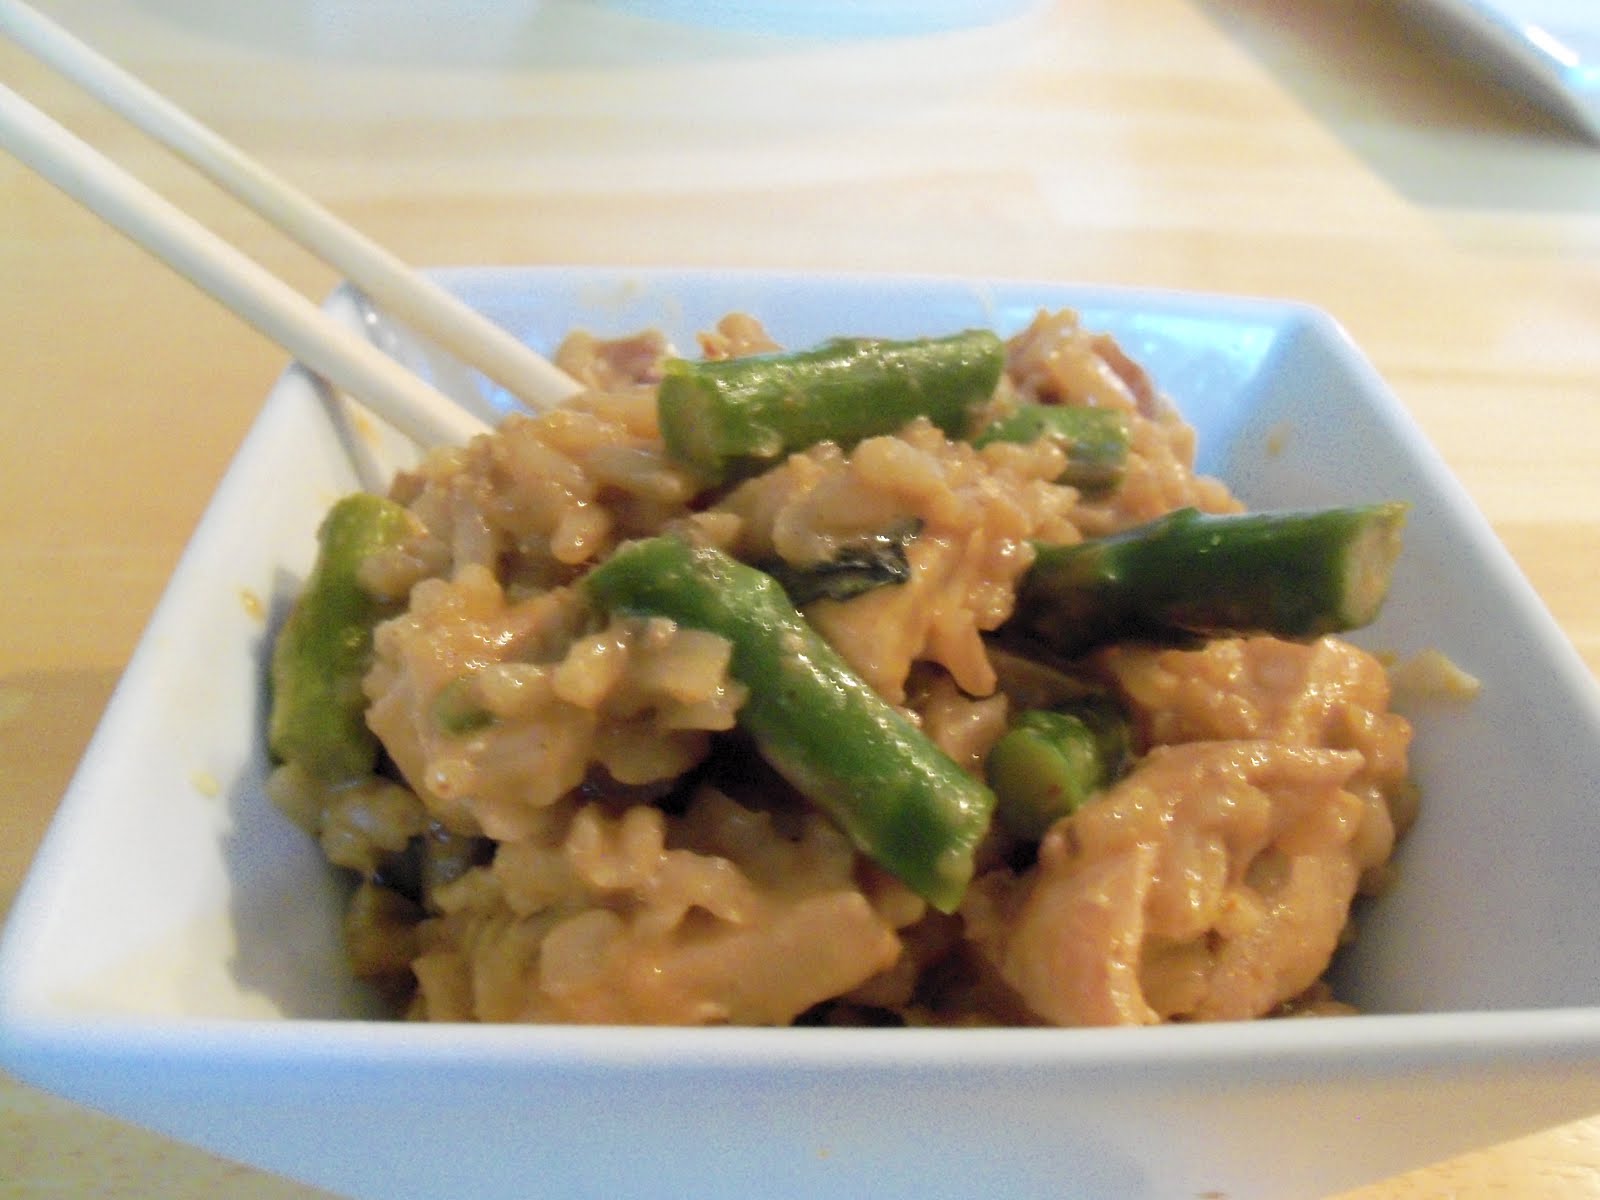
My Aunt Kelley is a FANTASTIC cook! Seriously-she is amazing. One of the best parts of the way she does things is the presentation. She could put lemonade out for a party, but it would taste ten times better than ANY lemonade I would make because it would be in the most beautiful pitcher and then poured into the cutest cups. There would probably even be little lemon shaped ice cubes floating in the sweet drink. She would deny it, but it is totally true! 🙂 Well, she just threw a shower for her daughter who is getting married soon and she made all of these small dishes to eat. This is no easy feat. I mean she cooked for about 20 people and set out about 20 different recipes that she prepared. It was amazing. They were all delicious, but a few stood out for me. This is one of them. There are a lot of unique flavors in this dish, but it is very easy on the palate. My kids ate it up and loved it. The tender chicken is enhanced by the creaminess of the coconut milk. The basil sprinkled on top is the perfect complement to this family friendly, healthy and delicious dish. Pair this with my Crunchy Asian Salad and you have a perfect meal!

Thai Coconut Chicken

2 tblsp olive oil
1 lb. skinless, boneless chicken breasts cut into 1/2 inch strips
1/2 tsp salt
1 small onion, thinly sliced
2 garlic cloves, minced
1 tsp grated ginger
1 tblsp light brown sugar
2 tsp Thai red curry paste
1/2 tsp cumin
1/2 lb asparagus, cut diagonally and into 2 inch pieces
1/2 cup unsweetened regular coconut milk (do not use the light version-it changes the taste!)
2 cups brown rice
3 tblsp. chopped basil

Heat 1 tblsp oil in large skillet. Add chicken and salt and cook until lightly browned about four- five minutes. Transfer to a plate. Heat other tblsp oil , then add onion, garlic and ginger. Saute until fragrant and onions are softened, about three minutes. Stir in sugar, curry paste and cumin. Cook 1 min, stirring constantly. Add asparagus and coconut milk and bring to a boil. Reduce heat, simmer, covered until asparagus is tender, 3-5 minutes. Add chicken, rice and basil and serve.
Pin It

Heather

Leave a Comment

Cakes and Cupcakes

Chocolate Lovers Dream Cake

100_8830.jpg

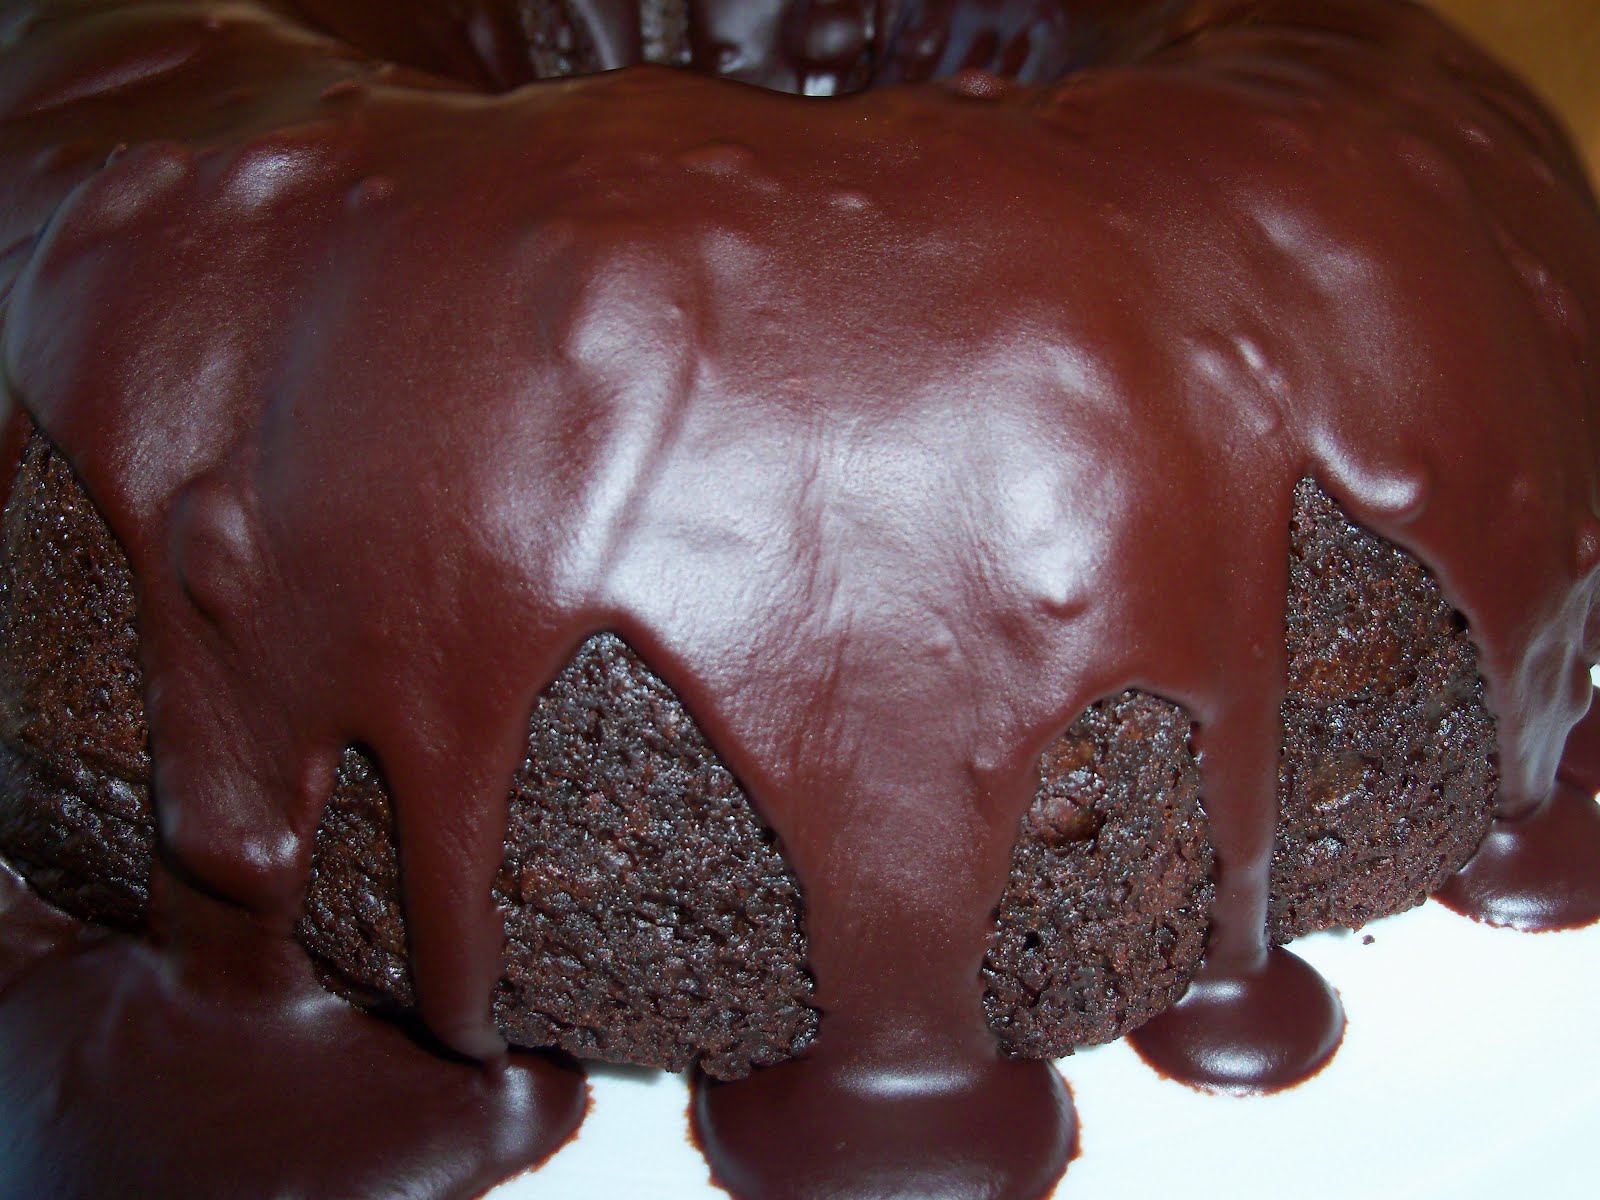
Ok, so you are probably thinking…wow, this girl eats a lot of desserts! Seriously, I have been making some fun desserts to take to people who needed cheering up, for people’s birthdays and this one I made for my church mom’s group recipe exchange. So…I really haven’t eaten a lot of desserts lately, even though most of my postings as of late have been desserts! This one is my friend Tina’s favorite!! She loves it. I post this recipe in honor of her…someone who LOVES chocolate! We found this in a Betty Crocker cookbook, you know the ones that totally get your attention right by the checkout? We both found it in there and it has been our go to cake whenever we are in the mood for lots of heavenly, decadent CHOCOLATE! I hope you enjoy this cake as much as we do!
Chocolate Lover’s Dream Cake

Cake:
1 (18 ounce) box fudge cake mix
1/2 cup chocolate milk
1/3 cup vegetable oil
3 eggs
1 16 ounce container sour cream
1 3 ½ ounce box instant chocolate fudge pudding
1 12 ounce bag semi-sweet chocolate chips

Glaze:
3/4 cup semi-sweet chocolate chips
2 tblsp butter
2 tblsp heavy cream or whole milk

Heat oven to 350degrees. Generously spray a 12 cup bundt cake pan with cooking spray. Lightly flour. In a large bowl mix cake mix, chocolate milk, oil, eggs, sour cream and dry pudding mix with a spoon until well blended. Stir in the chocolate chips and then spoon the batter into the pan. The batter will be very thick.

Bake 55 to 65 minutes or until the top springs back when touched lightly in the center. Cool in the pan for 10 minutes. Turn it out onto a serving platter or onto a cooling rack and cool completely.

In a 3 quart saucepan or microwave safe bowl, heat the glaze ingredients, stirring frequently until the chocolate chips are melted and the mixture is smooth. Drizzle the warm glaze over the cake. Store loosely covered at room temperature.

*Serve with whipped cream or vanilla ice cream for an extra special treat!

* If you think the chocolate glaze is a bit much, just omit that part and sprinkle powdered sugar over the cake right before serving. Delicious! 🙂

Follow Me on Pinterest

Heather

Leave a Comment

Appetizers

Sweet Mustard Dip


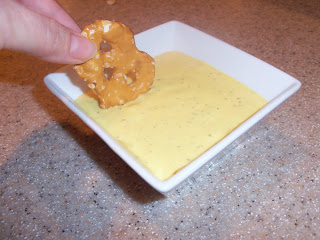
Do you love mustard or hate it? I have found that people have a very definitive love it or hate it view of mustard. I, personally, am on Team Mustard, but many people (including 2/3 of my children) turn their nose up at the mention of it. Despite your feelings toward the yellow stuff, you have to give this one a try. Some have been surprised that they love this dip when they really don’t like mustard. This is a fabulous dip for chicken tenders, but I usually make it as an appetizer accompanied by pretzels (soft and hard) for parties. It makes a lot! So plan on making some chicken tenders later in the week or cutting the recipe in half. Thank you to my cousin Tina for giving me the recipe in the first place. It is truly one of my most used appetizer recipes. Thanks Tina!

Sweet Mustard Dip

1 cup sour cream
1 cup mayo
1 cup mustard
1/2 cup FINELY chopped onion
1/2 cup sugar
1 packet of Ranch Salad dressing mix

Mix all ingredients well. Chill one hour to blend flavors. Serve with chicken, veggies, crackers or pretzels.

Heather

Leave a Comment

Breads, Quick Breads and Rolls Desserts

Tiramisu Bread

100_8827.jpg

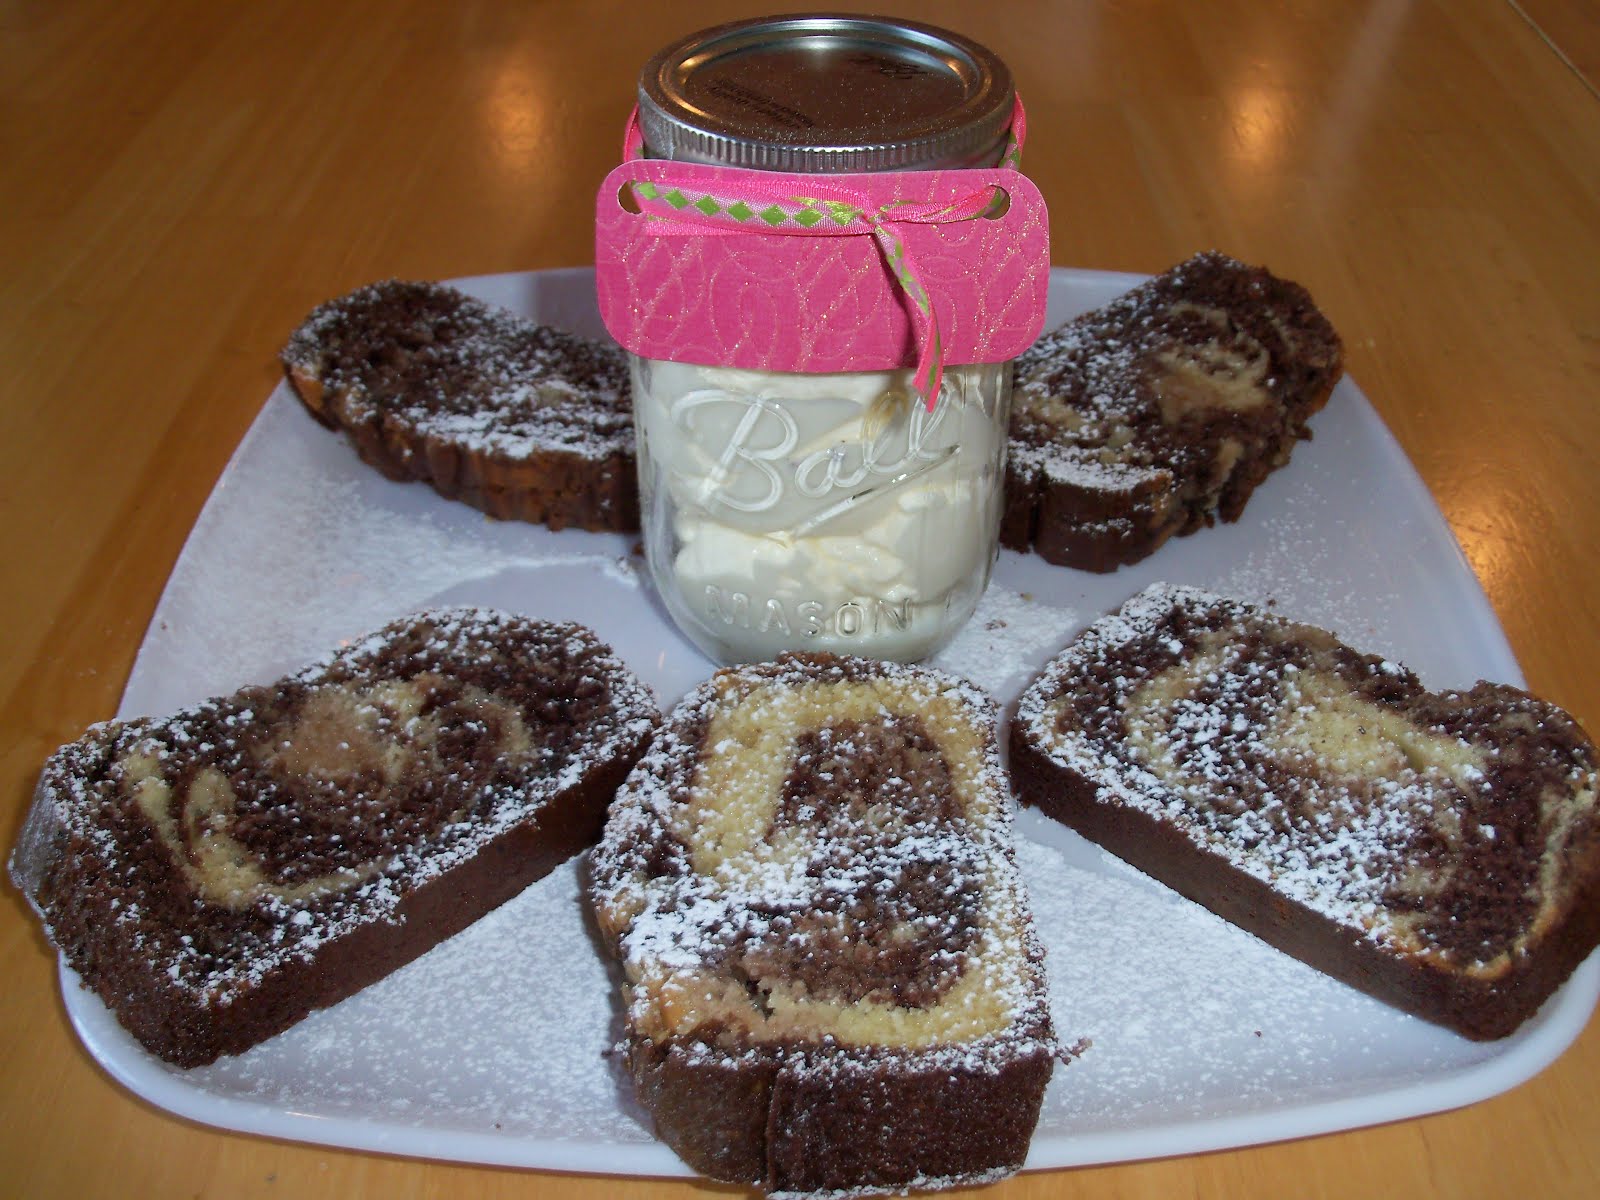
So tomorrow is my good friend Vickie’s birthday and she has been through a lot lately so I thought I would surprise her and make her a treat. She is not a sweets person at all, except for ONE thing-Tiramisu. She loves it! I was thinking of picking her up some from the local Italian deli but I had this recipe from Cuisine at Home Magazine I was dying to try, so I thought I would attempt it. The tiramisu bread is very lightly sweetened, so I made some homemade whipped cream for her too, which added a little more sweetness. I also lightly sprinkled it with powder sugar as well, which gave it just a bit of sweetness, and made it look pretty too! I hope she likes it and I hope you will all try it out too! Happy Birthday Vickie! May this be your best year ever! 🙂

Tiramisu Bread

1 1/2 cups flour
1 tsp baking powder
1 tsp baking soda
1/4 tsp salt
1 pkg. mascarpone, room temperature (8 oz)
3/4 cup sugar
2 eggs
1 tsp vanilla
1 1/2 tblsp unsweetened cocoa powder
2 tsp instant espresso powder
1 1/2 tblsp water
1/2 cup buttermilk
1/4 cup marsala
Powdered sugar, cocoa powder, whipped cream (optional)

Preheat oven to 350 degrees. Coat a loaf pan with cooking spray. Whisk together flour, baking soda and salt. Set aside. In large bowl, beat mascarpone and sugar until fluffy. Add eggs and vanilla. Beat well. Add flour to mascarpone mixture. Combine and add buttermilk. Divide batter in half and transfer half to a separate bowl. Combine cocoa, espresso and water in small bowl. Pour cocoa mixture into half of batter. Alternately spoon batters into prepared pan lengthwise (chocolate, regular, chocolate, regular, etc.). Use a skewer or knife to marble them together. Bake for 50-55 minutes. Using a fork or skewer, poke small holes all over top of warm bread. Pour marsala over the top of bread. Let cool in pan for 15 minutes and then turn onto a rack to cool. Slice when cooled, sprinkle with powder sugar or cocoa powder. Serve with whipped cream. Share with a friend or enjoy it all yourself! 🙂

Heather

Leave a Comment

Soups & Stews

Chicken Vegetable Stew with Quinoa

100_8816.jpg

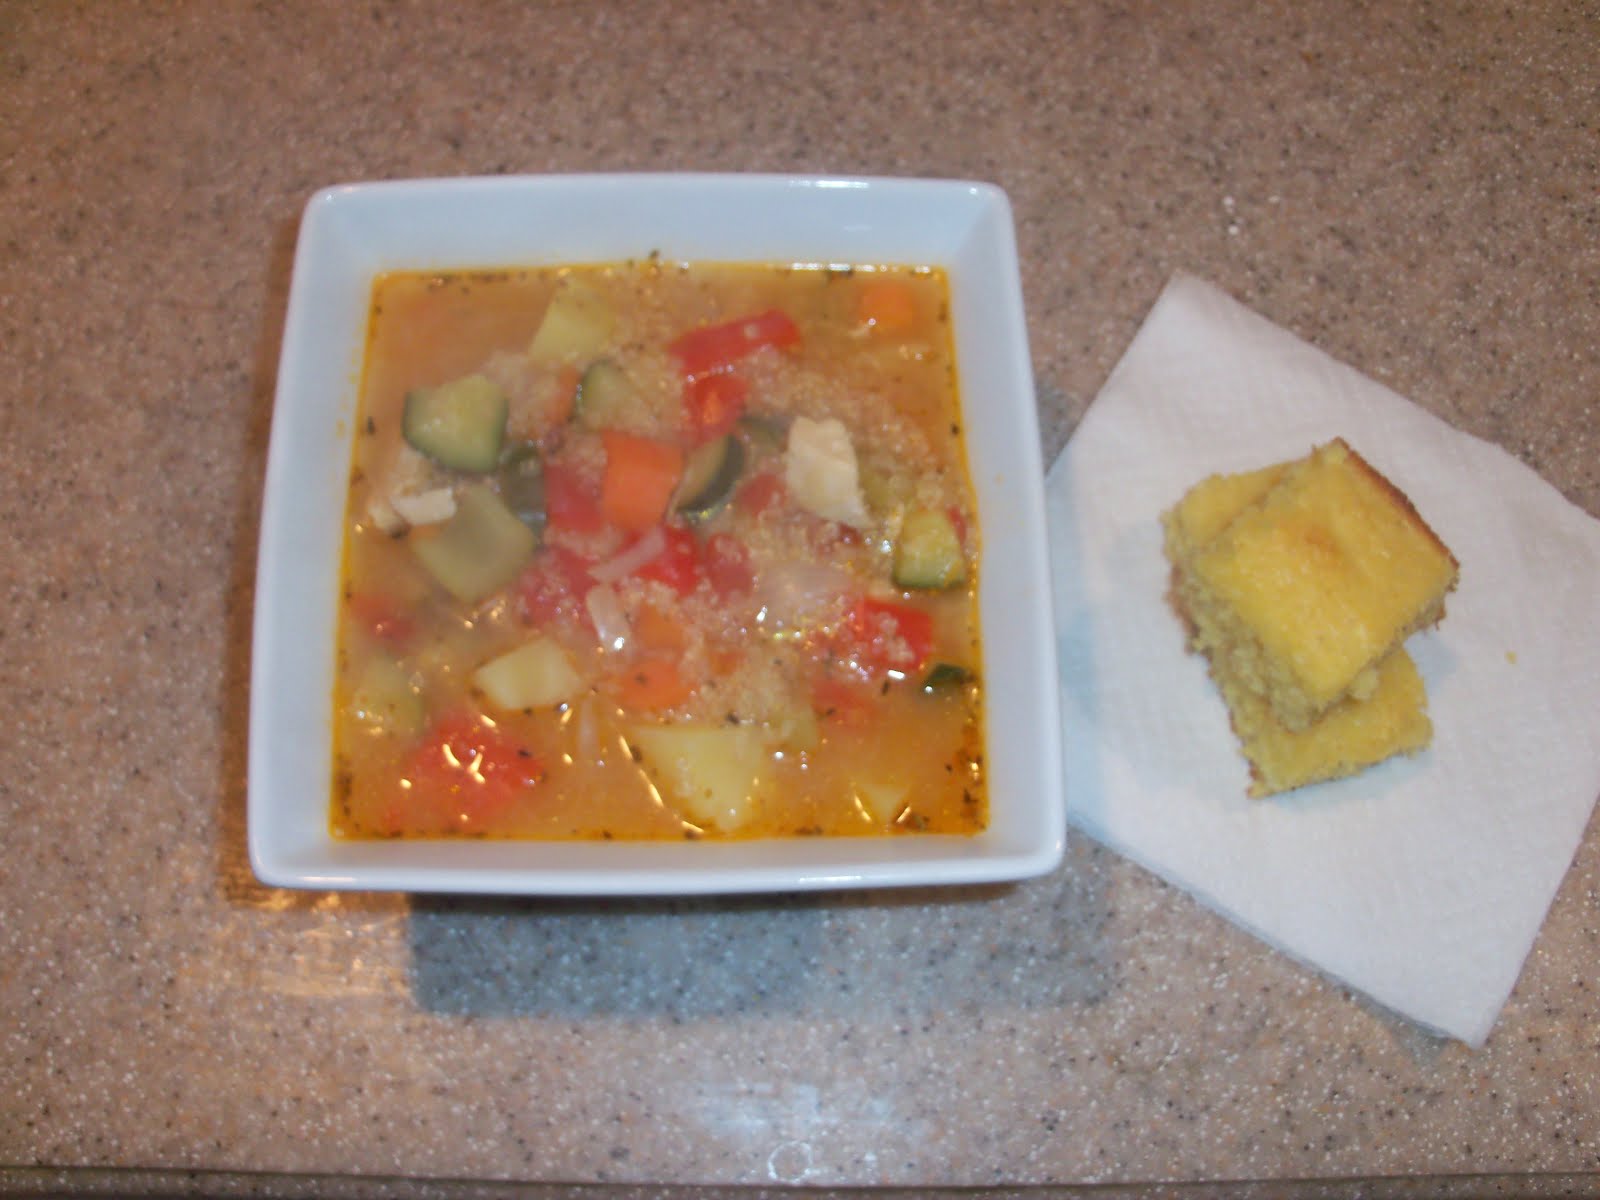
Ok–soup and stew season is quickly coming to a close, I can feel it! With temperatures in the high 60’s yesterday and today bringing us back to reality with a cold 40 or so…I know the good weather is on its way! Possible wishful thinking…I know, but I have faith! Soup or stew is just not doable in the warm weather to me. Really, it just makes me hot thinking about it. I do love a hot bowl of soup on a cold day though. I found this recipe on a cooking blog that I frequent and decided to give it a spin. I want to warn you, it is VERY time consuming. Plan this on a day that you have a lot of time to spend in the kitchen (a glass of wine in hand, perhaps?) or when you can prep ingredients earlier in the day so you are not chopping pounds of vegetables with one child clamoring at your legs, and another melting down in the other room…oh wait, sorry, is that just my life?

Well, the stew is completely worth the work. Lots of great vegetables, a really flavorful broth and the nuttiness of the quinoa (can you say “keen-wa”?) make for a really great, wholesome, hearty dinner. My kids ate it up and my husband really liked it too. This recipe made so much too I was able to throw it in the freezer, for another time. I paired this dinner with some buttery cornbread and a fruit salad and we all left the table happy. Well, I was dead tired after making the soup, but indeed happy. 🙂

Chicken Vegetable Stew with Quinoa

2 tblsp olive oil
1 cup sweet onion, diced
2 cups red bell pepper, diced
1 cup zucchini, quartered and sliced
1 cup carrots, sliced
1 cup celery, sliced
1 can (15 oz) diced tomatoes
64 oz chicken broth
4 Yukon Gold potatoes, peeled and diced
1 tblsp Italian Seasoning
3 cups quinoa, cooked
4 chicken breasts, cooked, cubed
Salt, pepper, garlic salt to taste
2 tblsp dijon mustard

Heat olive oil in large stock pot. Add onion, pepper, zucchini, carrots and celery. Cook until softened, about 5 minutes. Add tomatoes, broth, potatoes and Italian seasoning. Bring to a boil. Once boiling, cook an additional 10-15 minutes or until potatoes are cooked through. Add quinoa, chicken, seasonings and mustard. Heat through. Serve warm.

*Note: My hint is to cook the quinoa, cook and chop the chicken and cut all the veggies except for the potatoes ahead of time. Then, when it is time to assemble, the work is minimal.

*Note2: I know the dijon mustard ingredient sounds strange…do not skip it. It is really worth it! It gives the soup a rich, unique taste. I was wary at first so tested a little in a small bowl. Delicious! 🙂

Heather

Leave a Comment

Beef Casseroles Main Dishes

La Bamba Casserole

100_8806.jpg

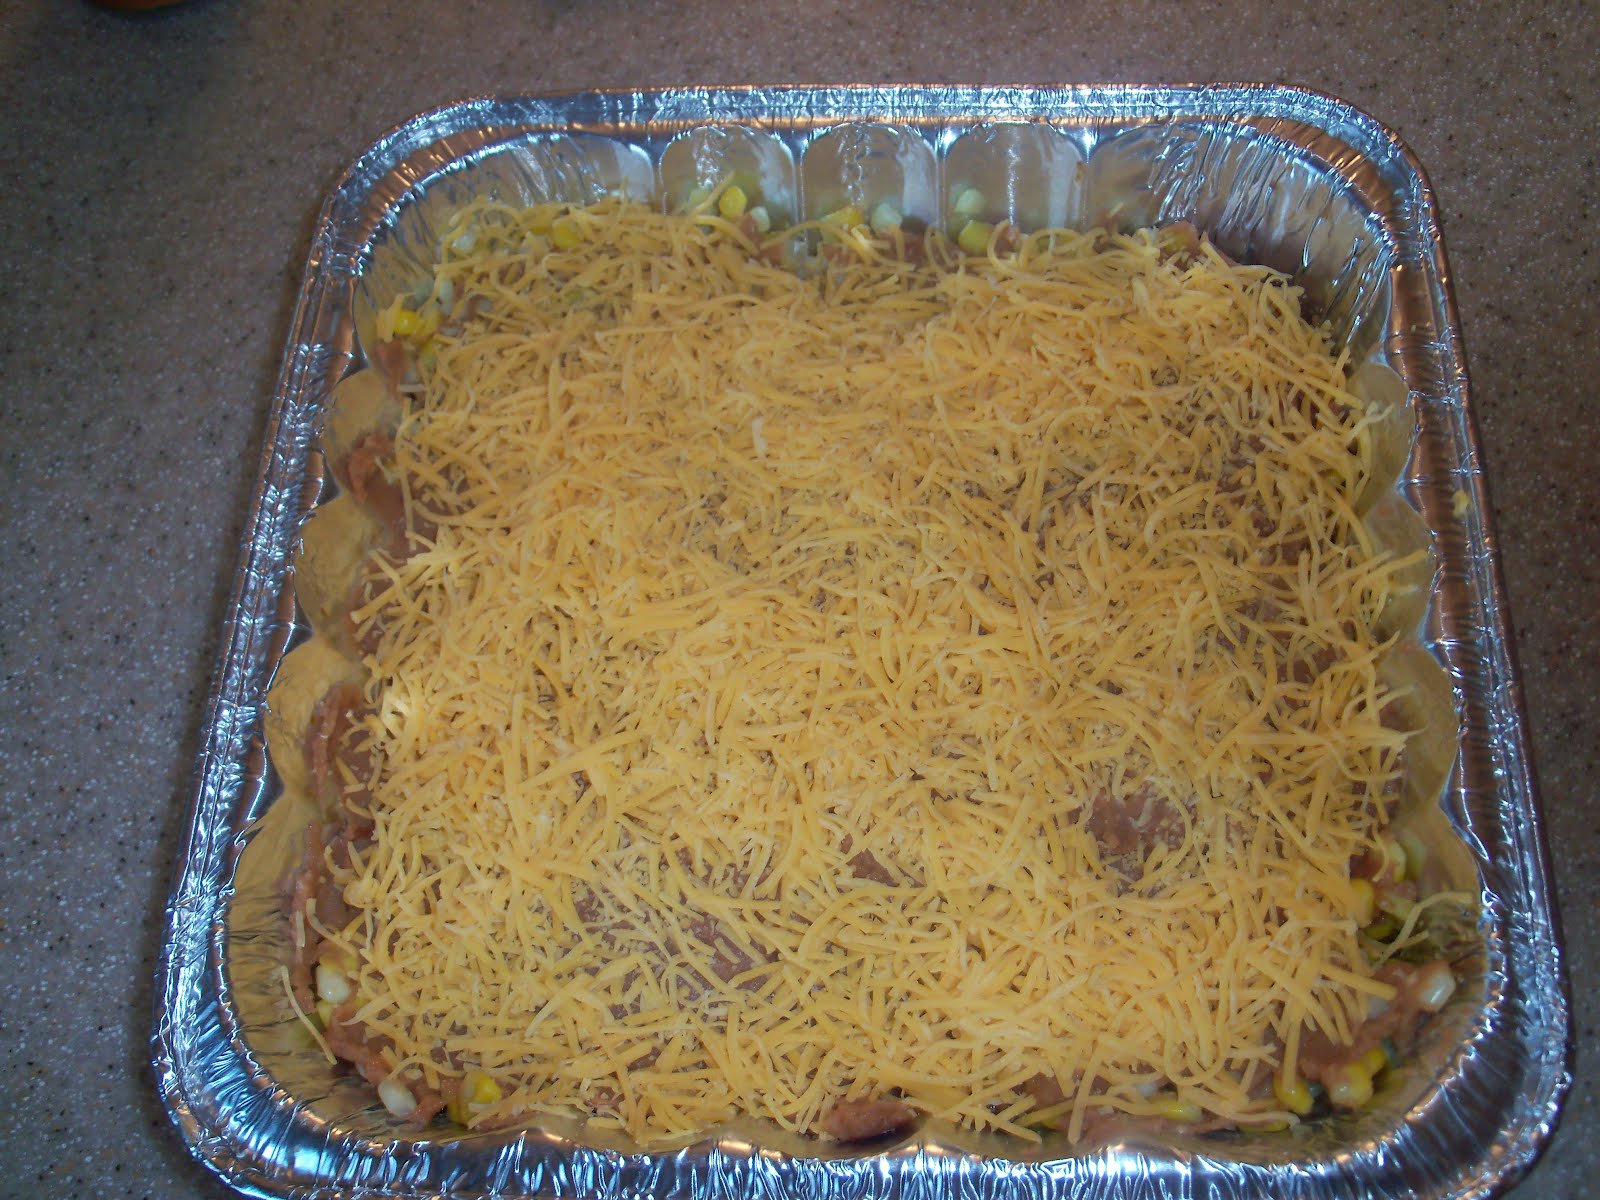
I love the name of this one! I found this recipe years ago when I first got married. It was in a Cooking Light magazine and I tore it out and made it. It was a big hit with my husband (hard to imagine a life where it was just him and I!) so I kept the recipe. The ingredients have sort of evolved over the years so I really never look at that recipe anymore, but the name remains the same. I mean, if you have a casserole called “LaBamba”, would you change it? I don’t think so. 🙂 This is an easy throw together meal that tastes as if you took a lot of time. It is a great meal to make if you are bringing dinner to a friend. They can pop it in the oven, or even freeze it for another time. I was actually making this for a friend today and will deliver it to her with baking instructions. Her family will have a hot meal in no time! (Notice in my picture the cheese is not melted-that is why. It has not been baked yet!) Pair it with some tortilla chips, salsa and a fresh salad for a great meal.
LaBamba Casserole

Cooking spray
1 4 oz can of mild diced green chilis
1 lb. lean ground beef or ground turkey
1 packet of taco mix or your own spices (chili powder, salt, cumin, onion powder, garlic powder)
1 can of diced tomatoes
2 cups of cooked corn
1 can of refried beans, any variety
2 cups cheddar cheese

Spray an 8×8 baking pan with cooking spray. Arrange green chilis evenly on bottom. Brown ground beef in a skillet. When cooked, add taco mix and canned tomatoes. Cook until heated through about 4 minutes. Pour meat evenly over chilis in baking dish. Top with corn. Spread beans carefully over corn. Top with cheese. Bake at 350 degrees for 20 minutes or until cheese is melted and it is all heated through.

Heather

Leave a Comment

Salads and Dressings

Panzanella Salad

100_8804.jpg

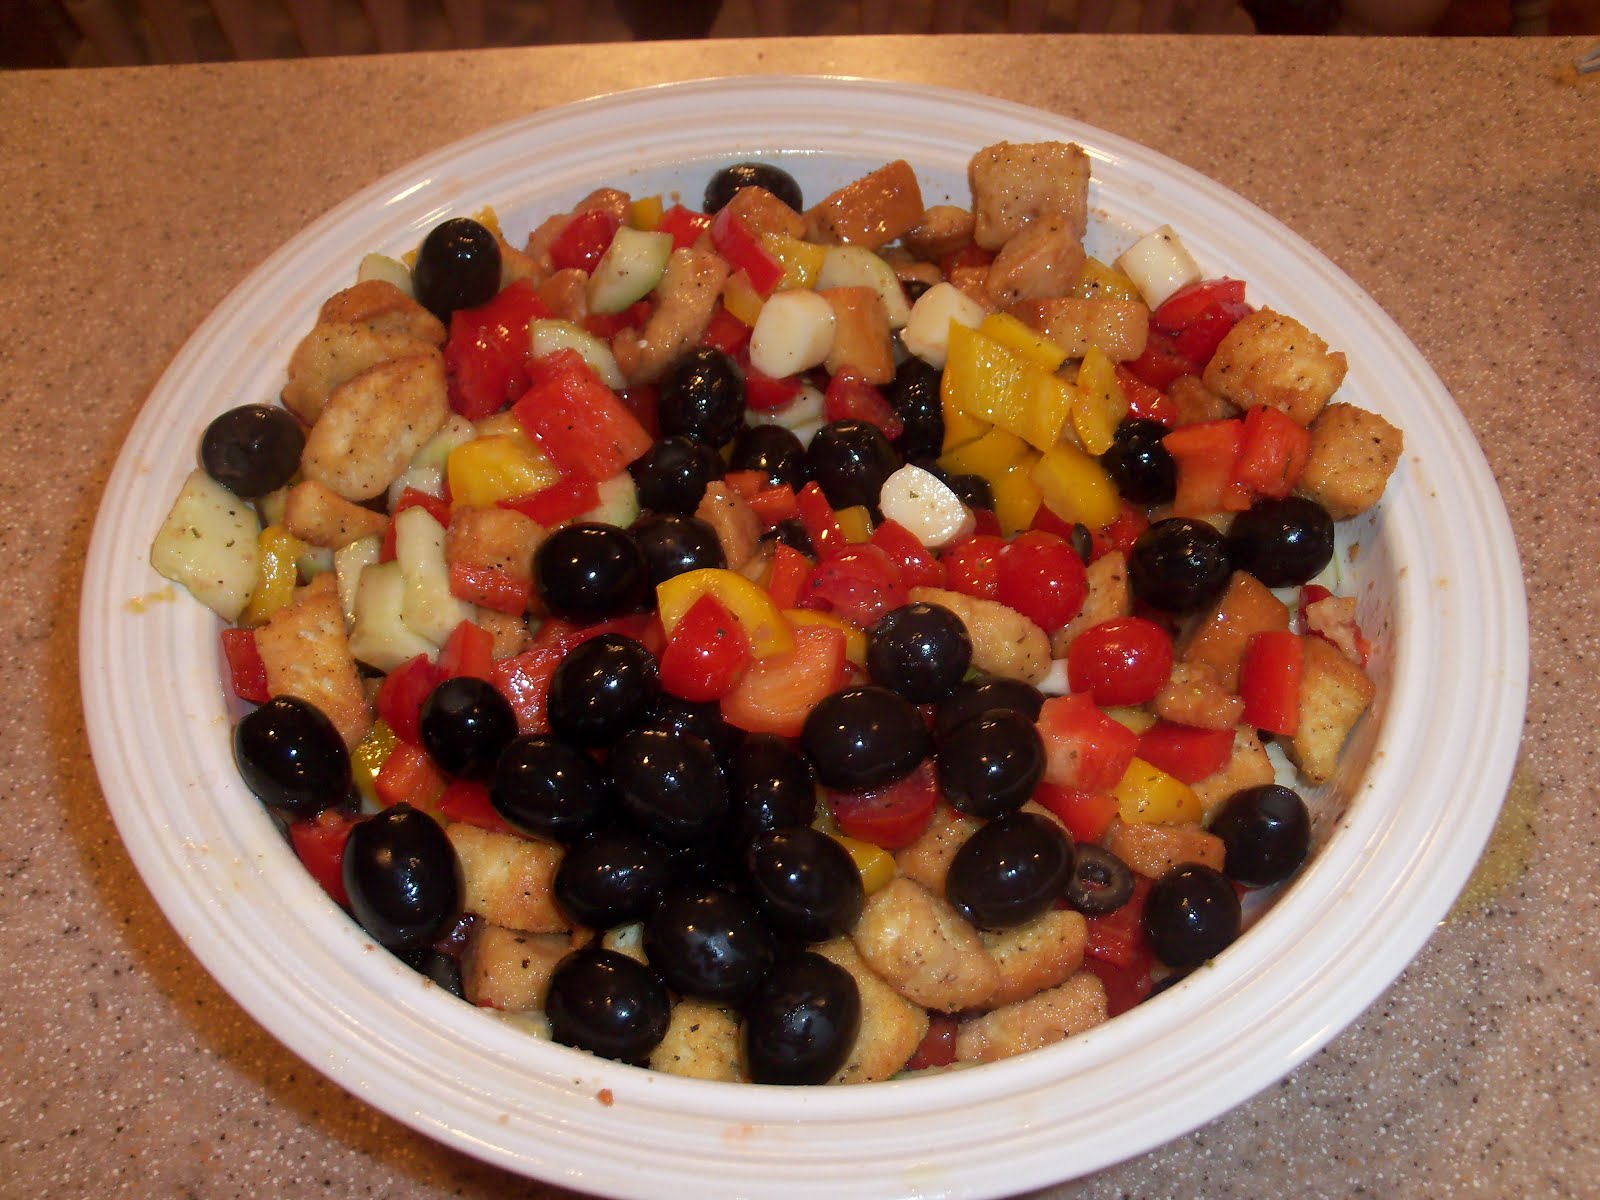
I love salads with bread in them. I mean, seriously, the person that invented croutons is my personal hero! 🙂 This salad is my version of panzanella. You come across a lot of different takes on this salad-some have just tomatoes and bread, others bring in more vegetables. I have played around with different versions, but this one is one of my favorites. My kids love it too. Lots of colorful veggies, bread and a delicious vinagrette to bring it altogether. Pair it with grilled chicken or fish and a fruit salad and you have a complete meal.
Panzanella Salad

1 red bell pepper, seeded and diced
1 yellow bell pepper, seeded and diced
1 pint of cherry tomatoes, halved
1 cucumber, peeled, sliced, then quartered
1 can of sliced or whole black olives
1 cup diced or crumbled cheese (I have used feta or mozzarella-both good!)
2 cups croutons, or cubed crusty bread (see below)
1/4 cup olive oil
1/8 cup red wine vinegar
1 tblsp dried Italian seasoning
1 tsp salt
1/2 tsp pepper
1 tsp sugar
1 tsp water

Combine veggies, cheese and bread in a large bowl. Combine the rest of the ingredients in a small bowl whisking to combine. Pour over salad. Toss well. Serve immediately.

Heather

Leave a Comment

  • « Previous Page
  • 1
  • …
  • 34
  • 35
  • 36
  • 37
  • 38
  • Next Page »

Heather

I am a midwestern girl who grew up in the big city, but now enjoys her days as a stay at home mom in the suburbs. Who says spending time in the kitchen has to be boring? I hope to inspire your family kitchen with some new ideas, fun recipes and great tips.

Stay Up to Date

Get all the latest tasty goodness straight to your inbox!

Girl and her Kitchen

Join us!

Hey! I am the GIRL in the kitchen and I am so glad you decided to visit. Love to cook and eat? You will find some great recipes on this site, whether you are looking to eat healthy, splurge on a dessert, make dinner or host a party-I have it all! Sometimes I’ll give you a story along with my recipe, other times, I want to take you straight to the food!  Whatever the reason that you decided to visit, I am so glad you joined me in the kitchen! Feel free to take a look around the site, and please…stay awhile!

Archives

Popular Categories

  • Appetizers
  • Breakfast
  • Crafts
  • Salads and Dressings
  • Side Dishes
  • Vegetables and Fruit

Most Popular Posts

Corner Bakery Cafe Giveaway!

Corner Bakery Cafe Giveaway!

Filed Under: Reviews

Bacon Cheddar Skillet Cornbread

Bacon Cheddar Skillet Cornbread

Filed Under: Breads, Quick Breads and Rolls, Side Dishes

Puffy Pancakes {Perfect for Valentine’s Day!}

Puffy Pancakes {Perfect for Valentine’s Day!}

Filed Under: Breakfast, Valentine's Day

100 Days of Real Food Cookbook Review {and Giveaway!}

100 Days of Real Food Cookbook Review {and Giveaway!}

Filed Under: Vegetarian

Copyright © 2025 · Divine theme by Restored 316